To install Aegea, the blogging engine, you will need:
- A server with Apache, PHP 5 and MySQL,
- FTP or SFTP access to the server or another way to access the server’s file system,
- Access to a MySQL database.
If you don’t have all this or don’t know what this means, you will not be able to install Aegea on your own. Seek assistance.
Get Aegea package
Download the Aegea zip archive from the website and unzip it:
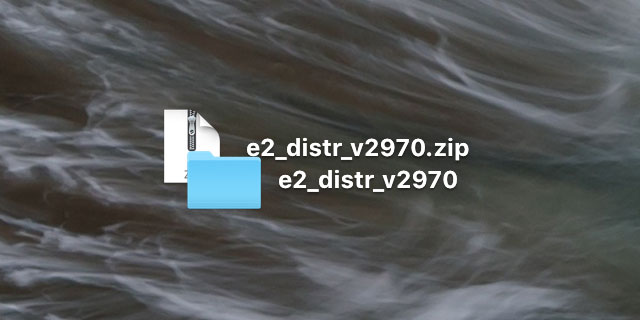
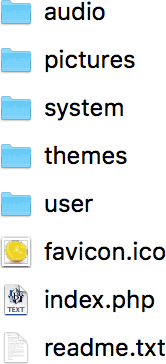
Inside, you will see files like these (the list may differ depending on the version):
Put files on server
Upload all these files to the server (I’m using the FTP client Flow here):
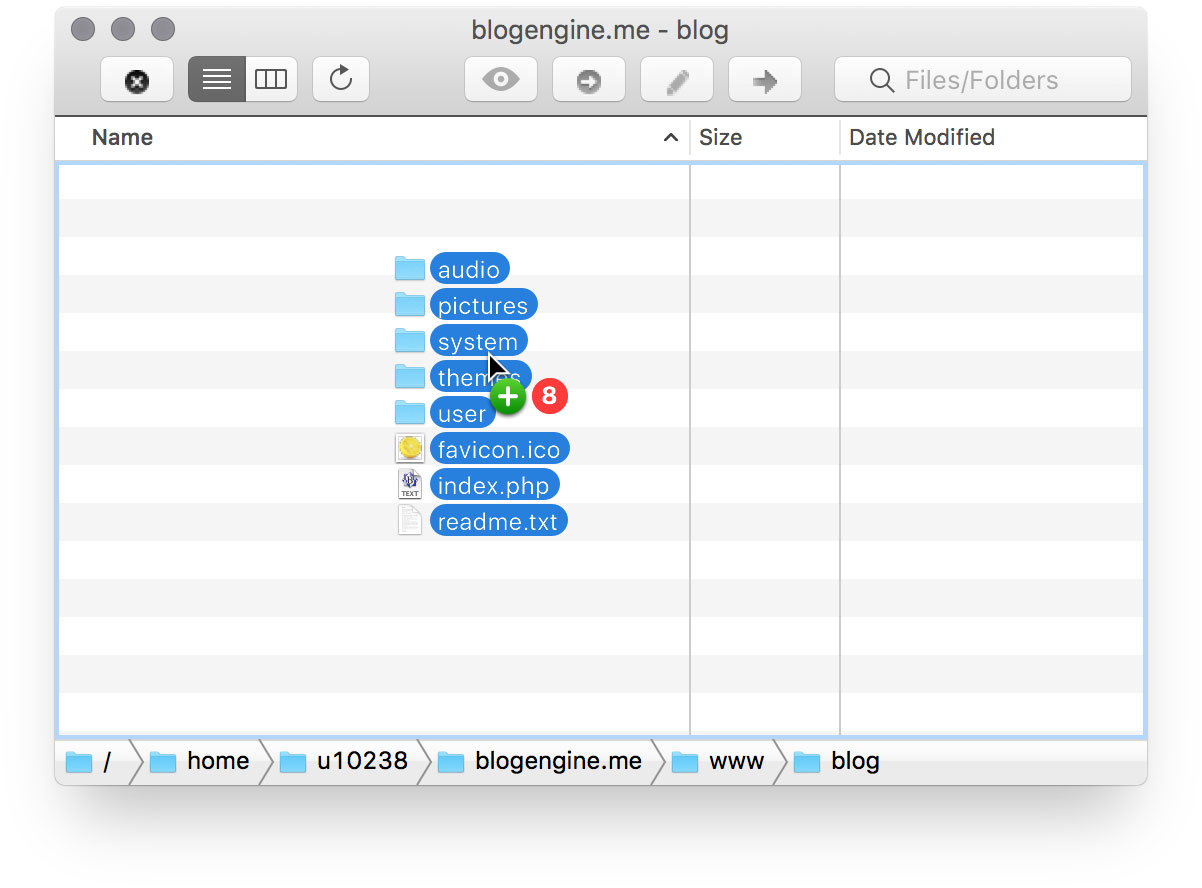
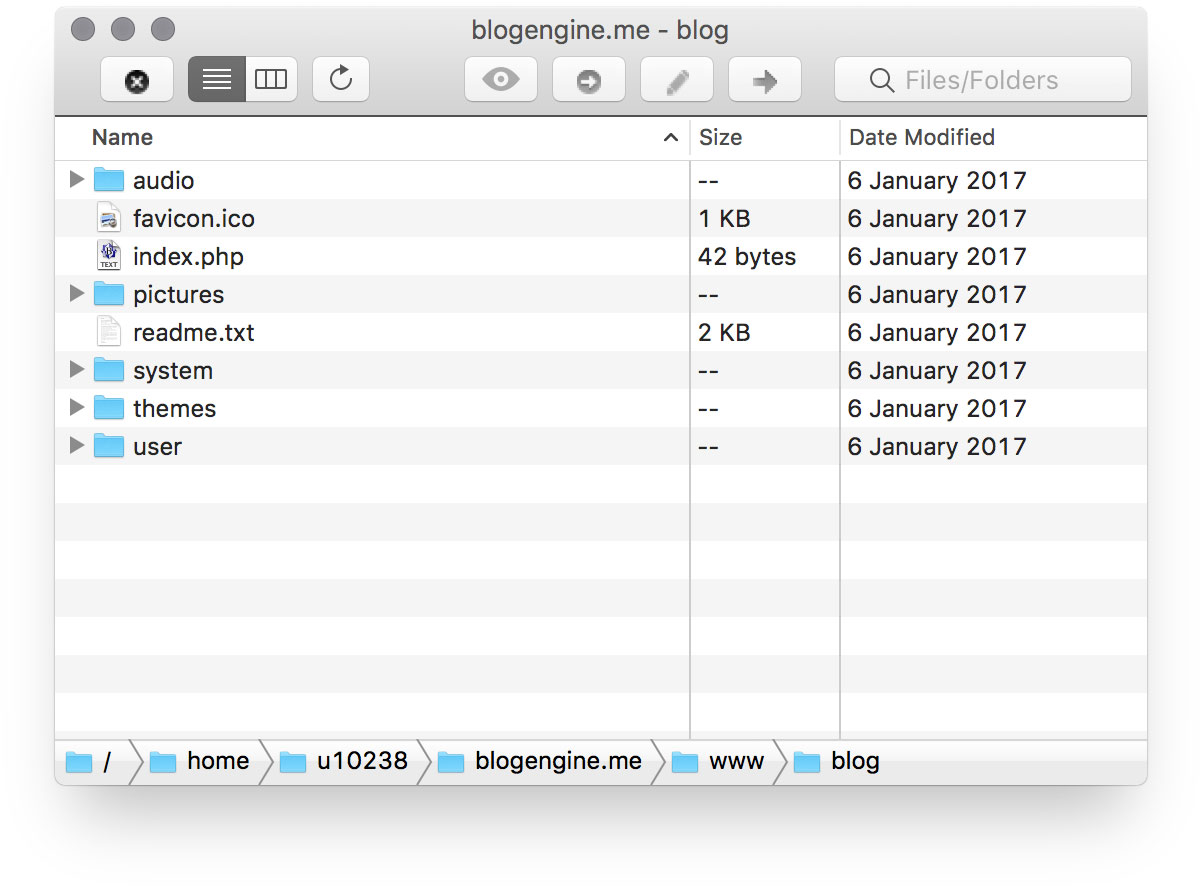
As you can see, I’ve created a “blog” folder on the server and put the files in that folder:
Open Installer with browser
Navigate to the server with your browser. As I’ve created the folder “blog” for Aegea, I go to blogengine.me/blog/:
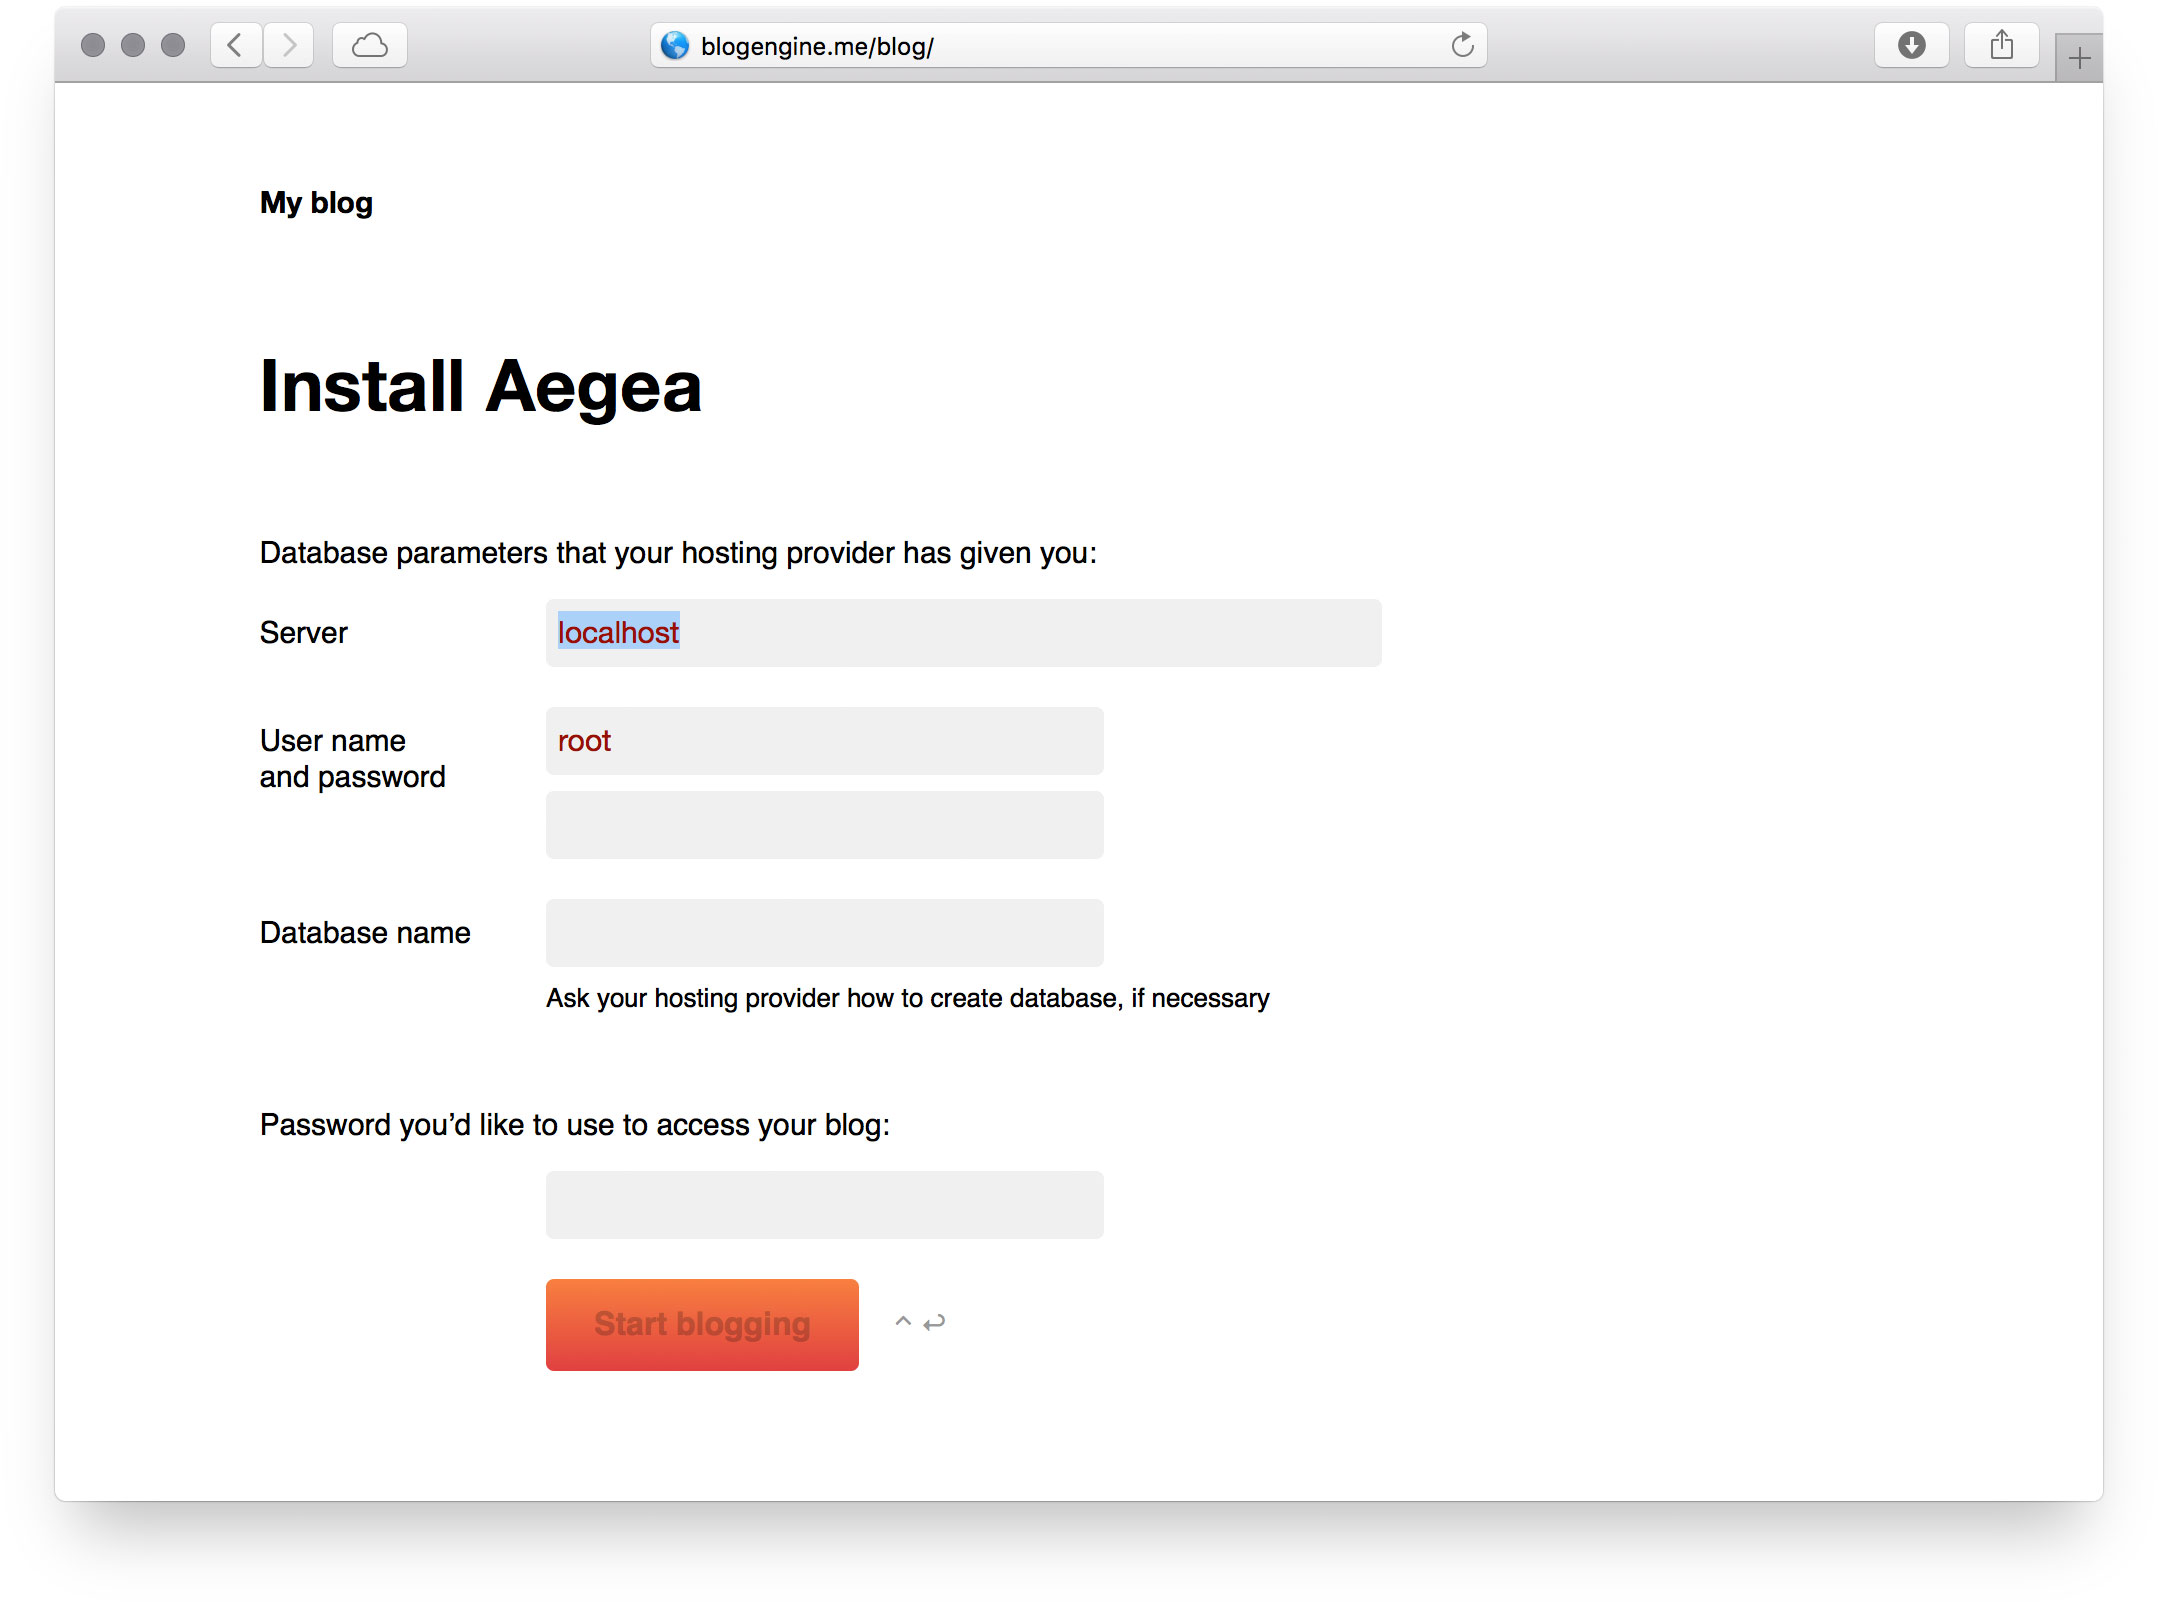
Enter your MySQL database access parameters: the server, the username, the password and the database name. The last thing to fill in is the password that you want to use to access your blog (you can change it later):
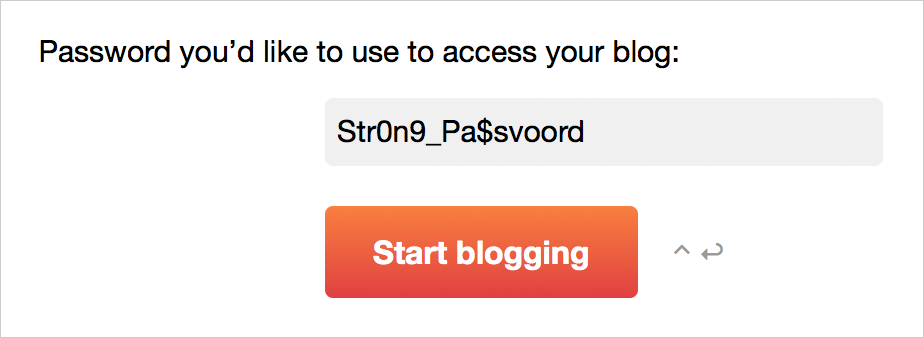
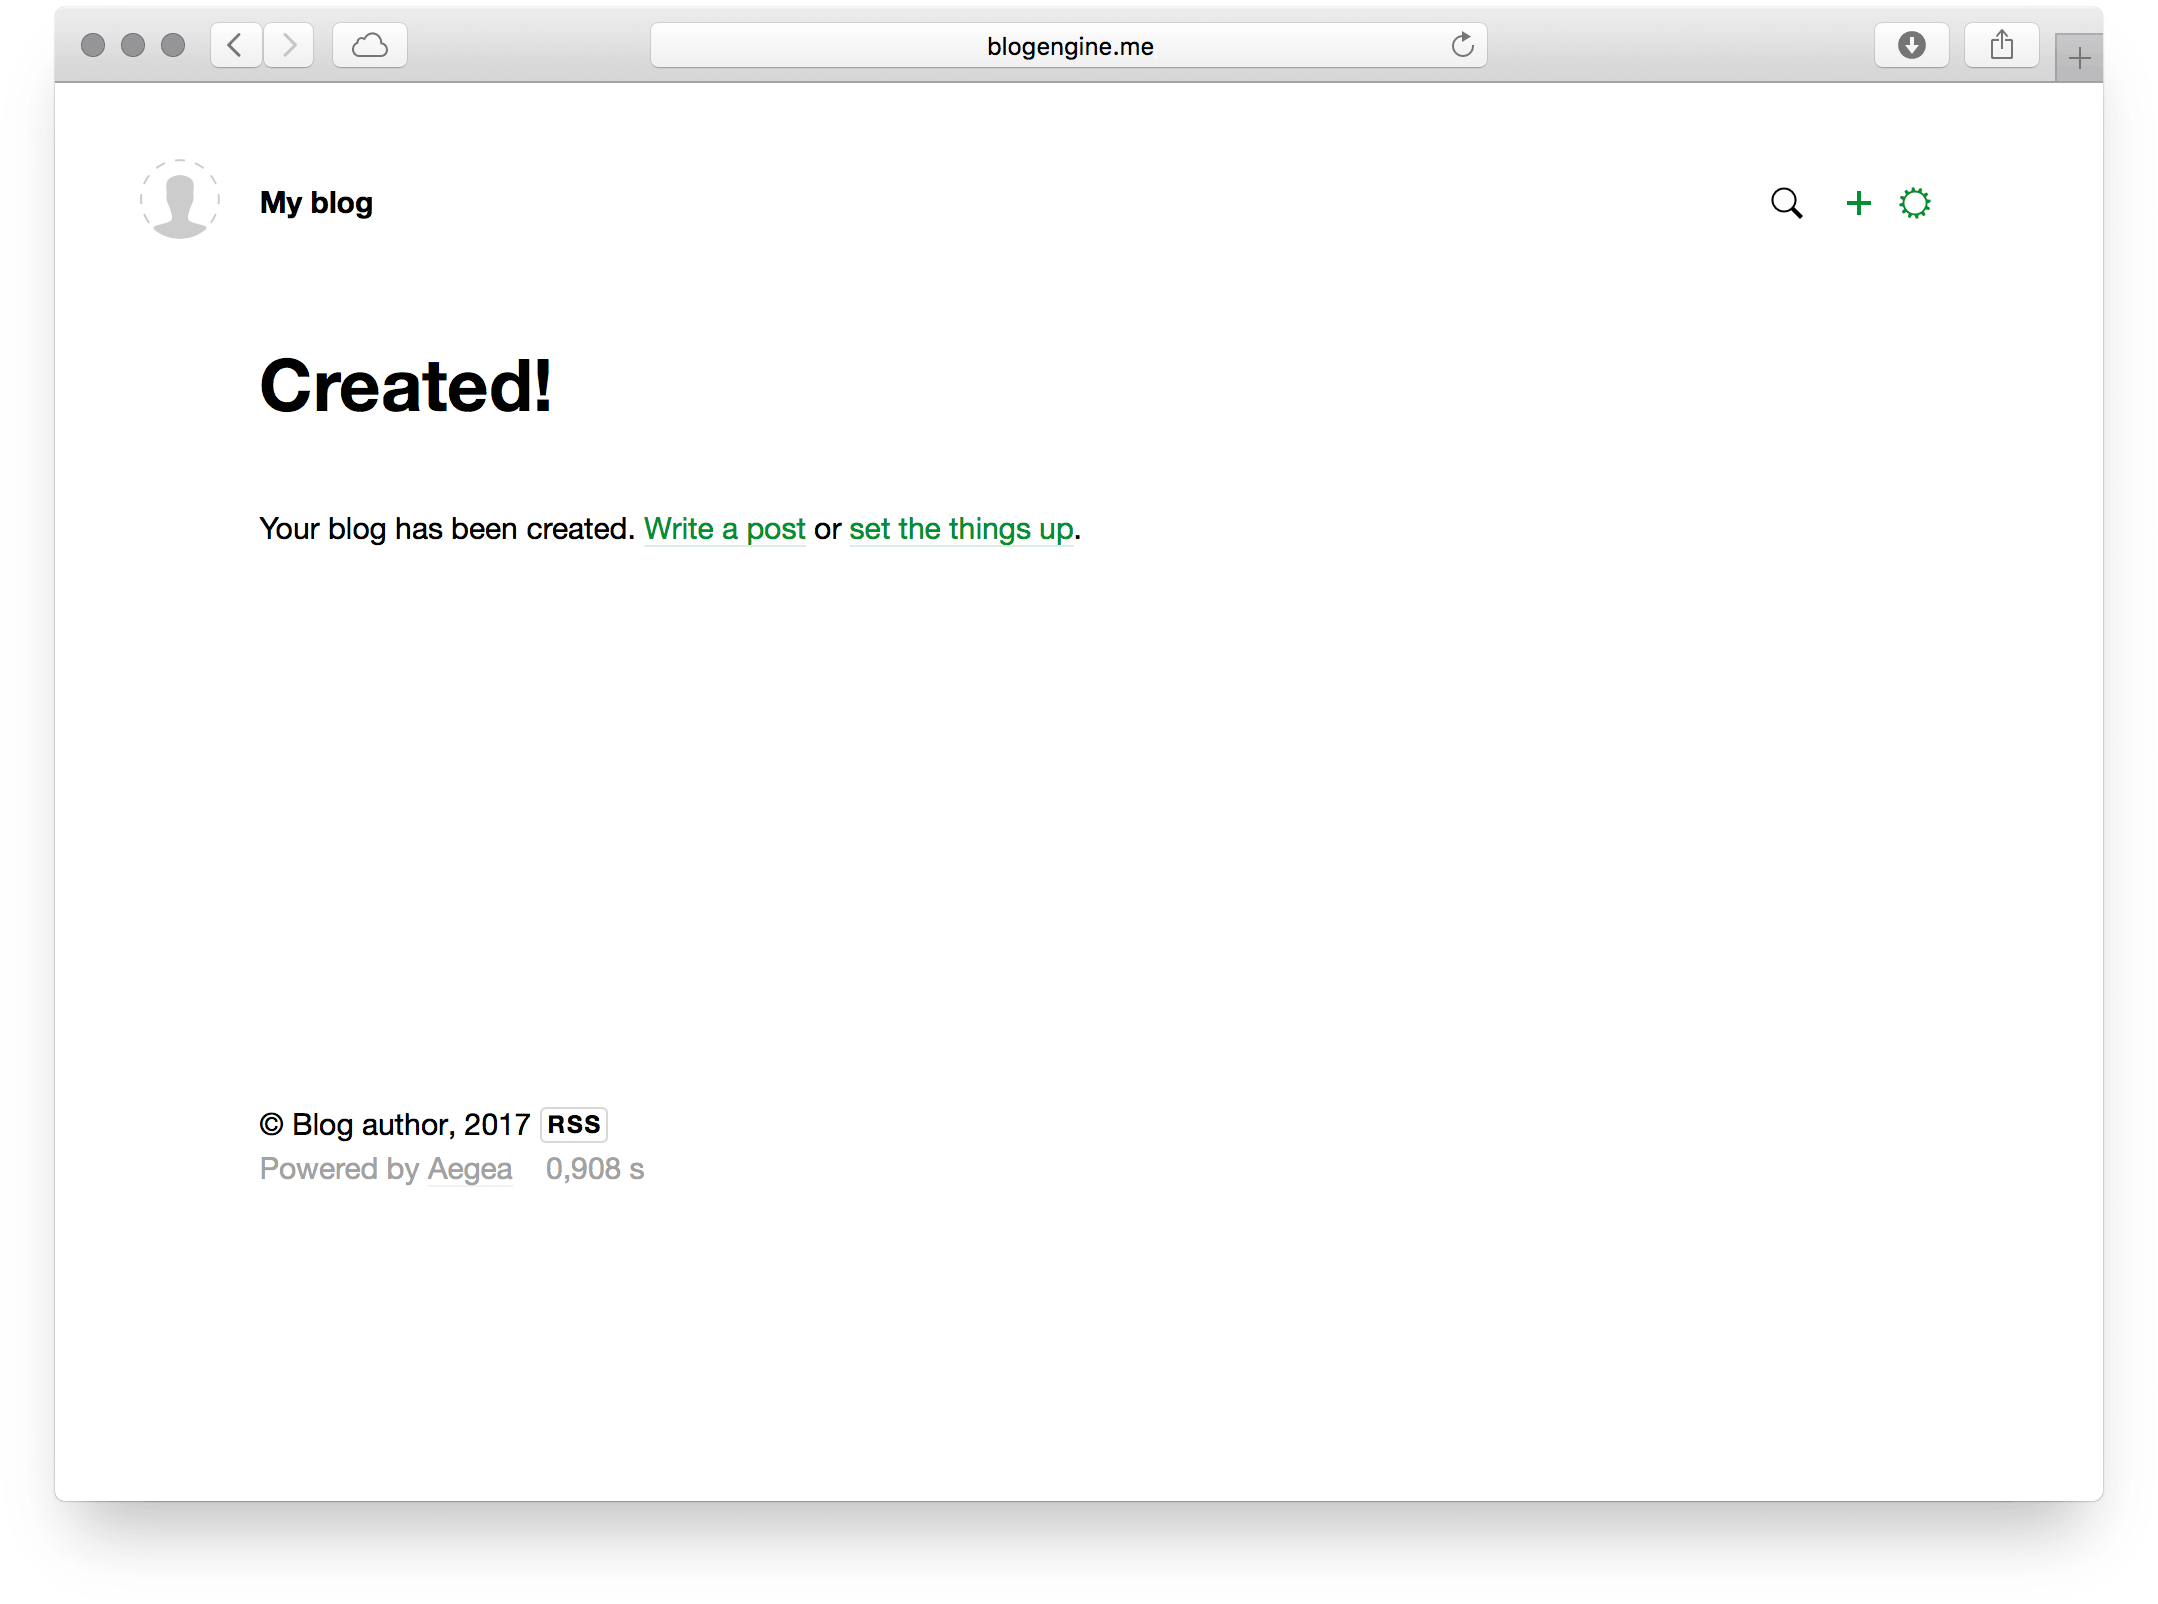
Click “Start blogging” and go:
Permission problems
You may find that instead of the Installer Aegea shows you something like this:

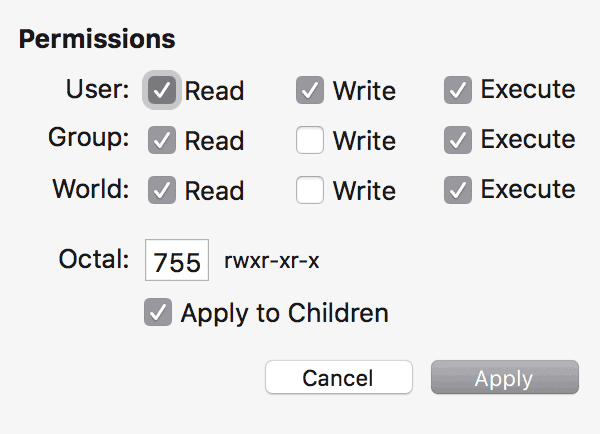
In this case, you need to change the permissions of Aegea’s folder and everything inside it to let the engine do anything it wants. Select the folder “blog” (in my case) and press ⌘I (in Flow’s case) to open its details:

Click the pencil icon next to Permissions (or open the permissions in some other way). Set permissions like this:
Then go back to the browser and press “Try again”. Installer should work now.