Blog

Later Ctrl + ↑

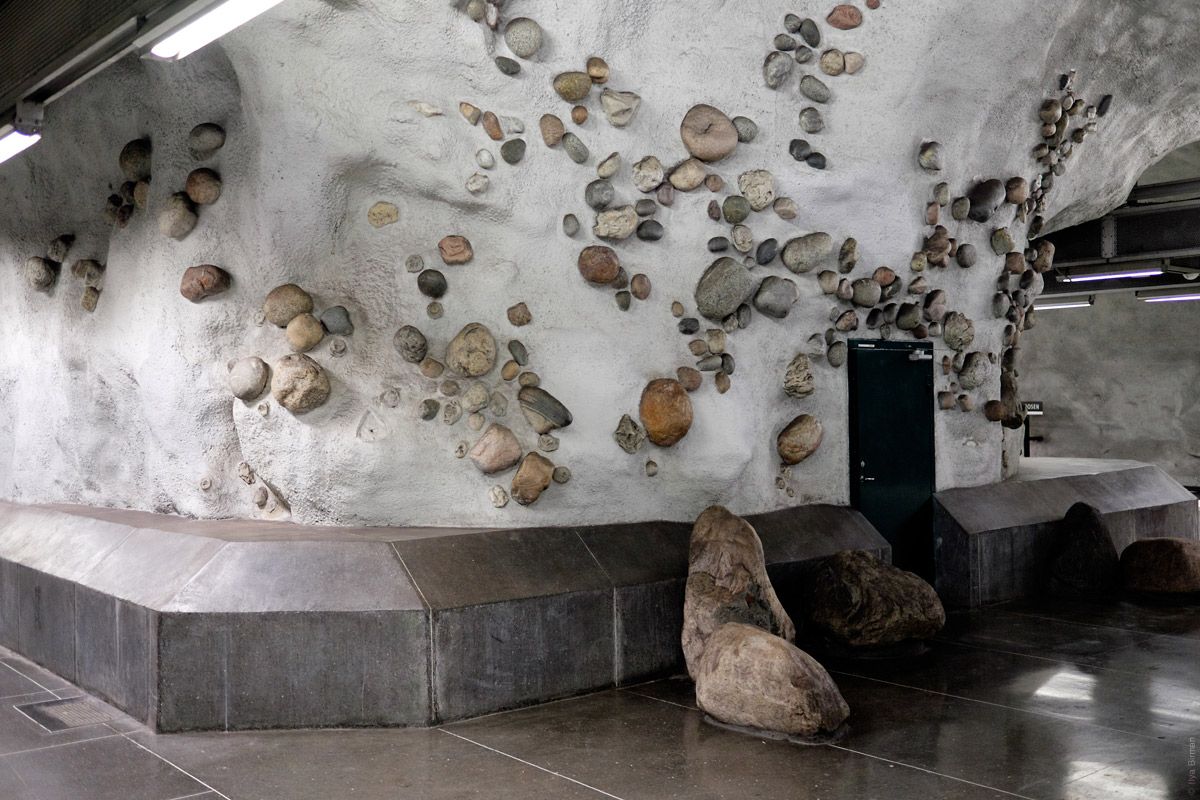
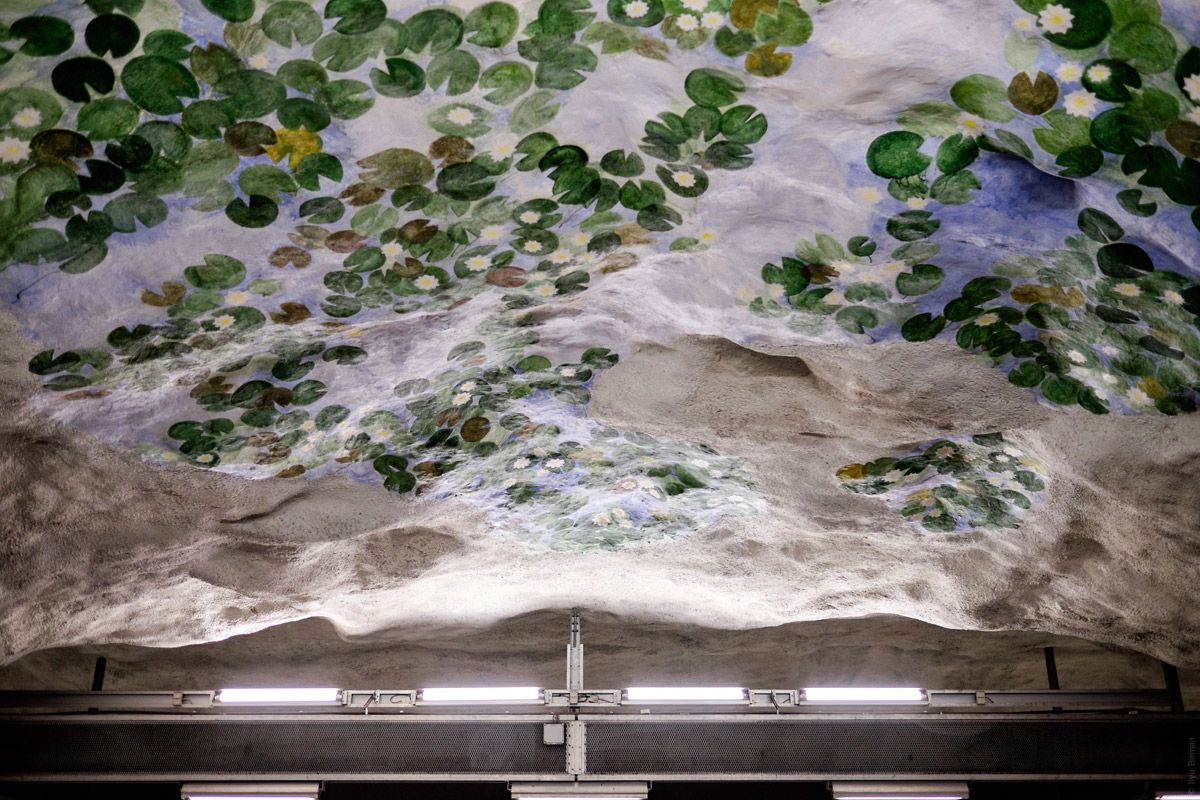
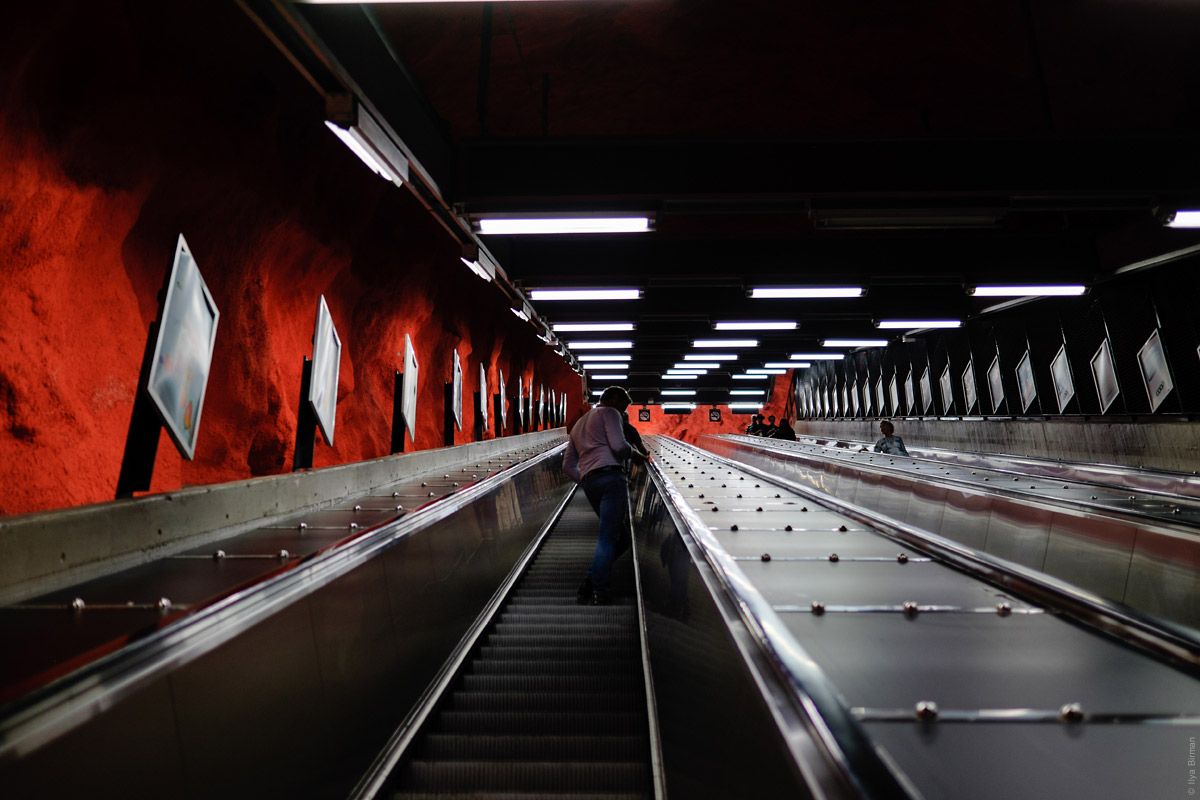
Solna centrum Stockholm metro station

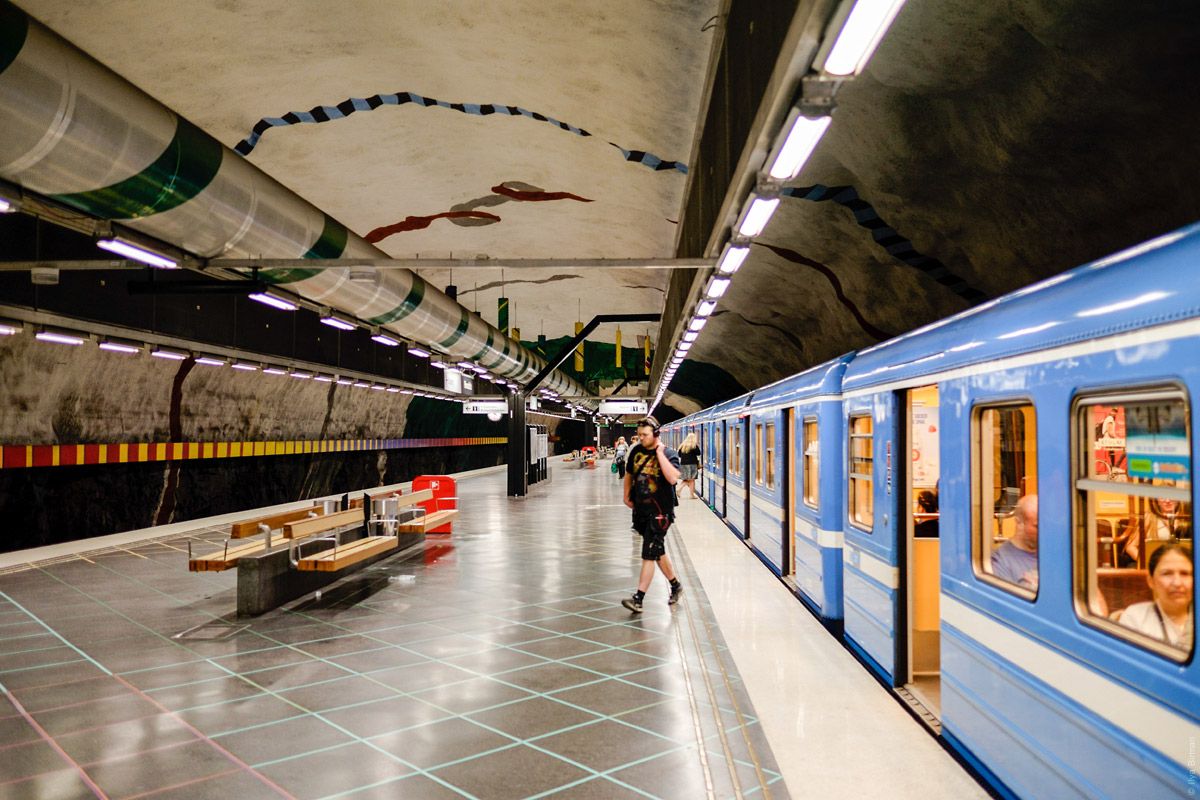
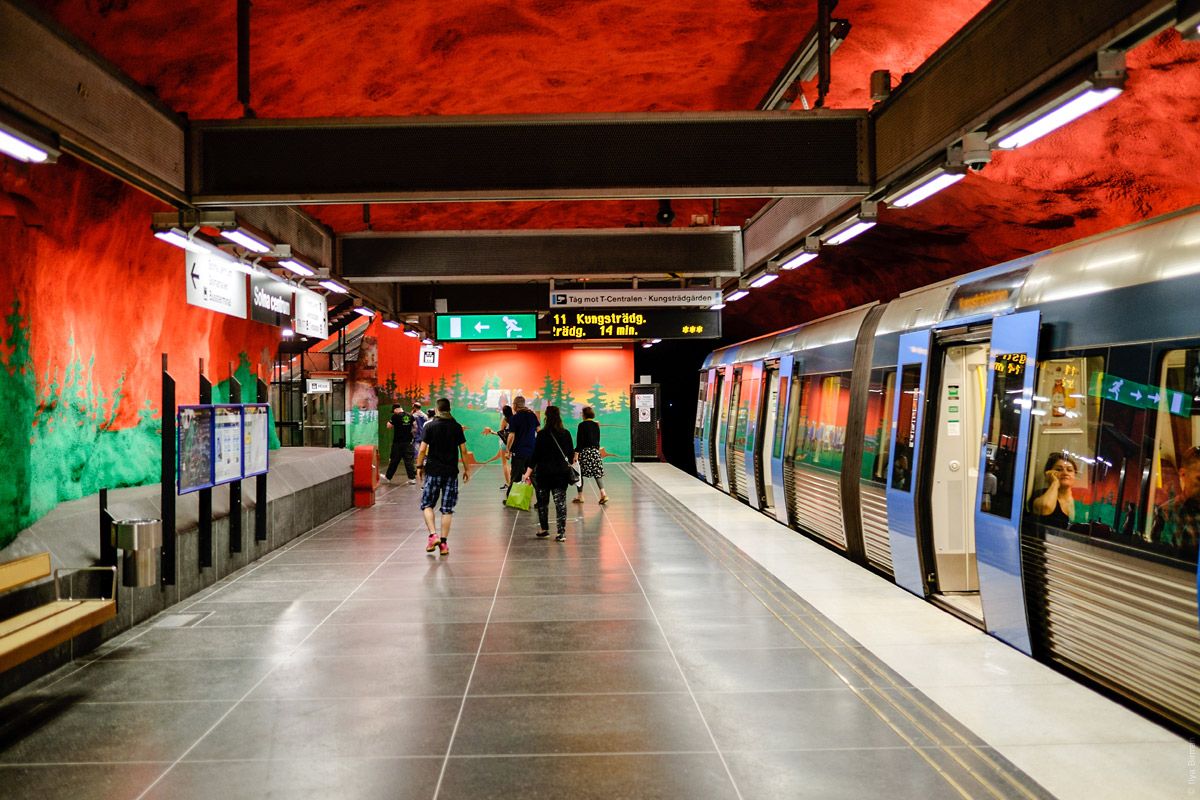
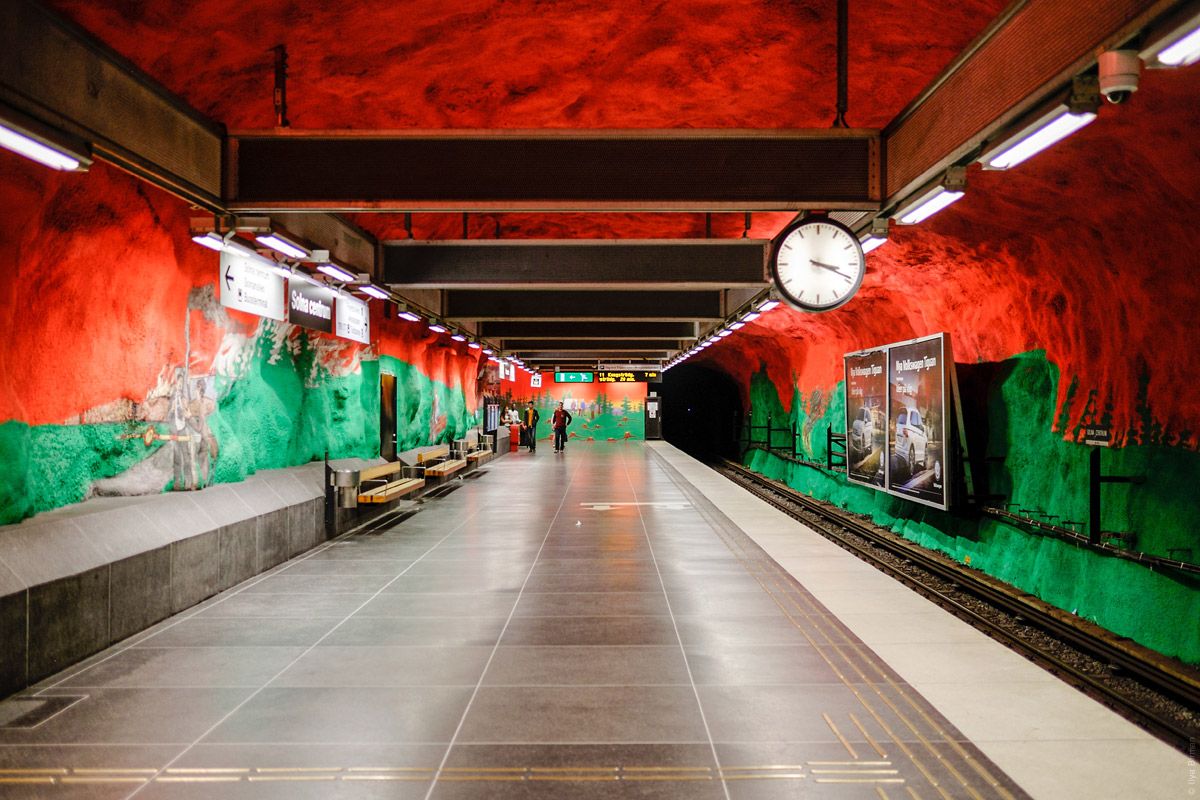
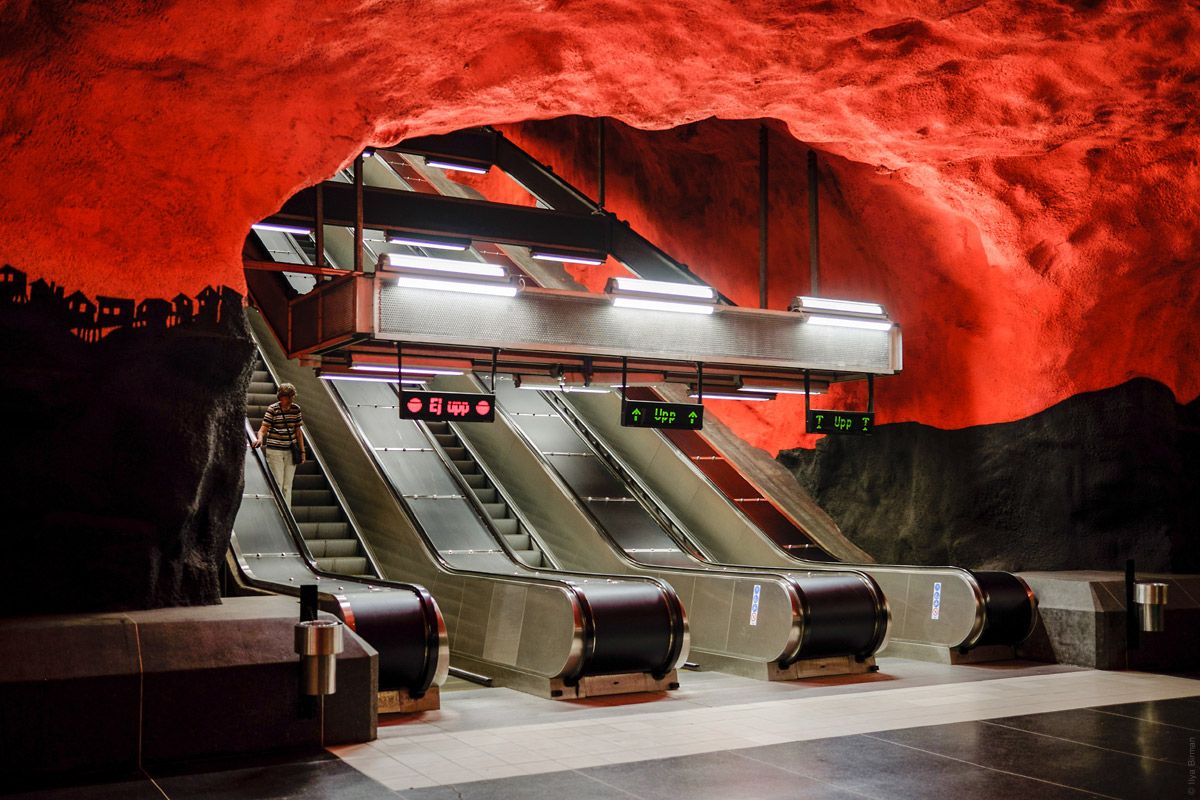
In the previous part you saw this picture:

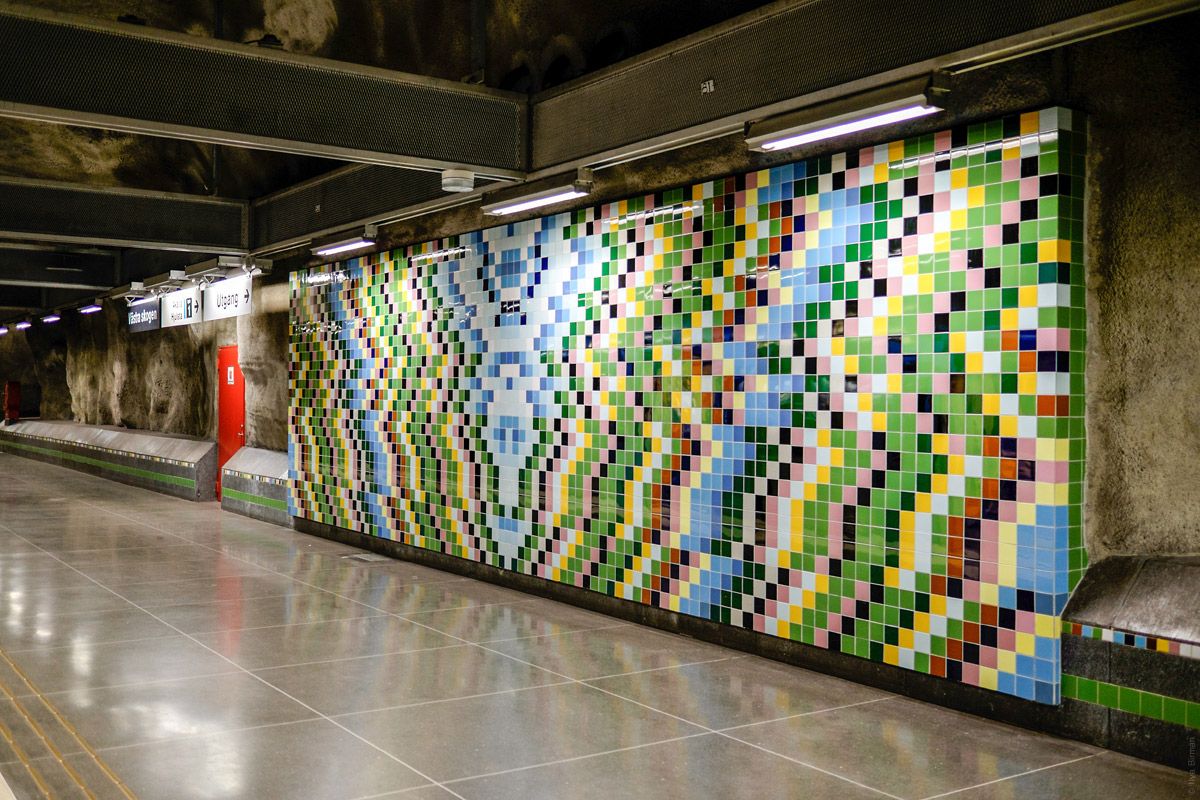
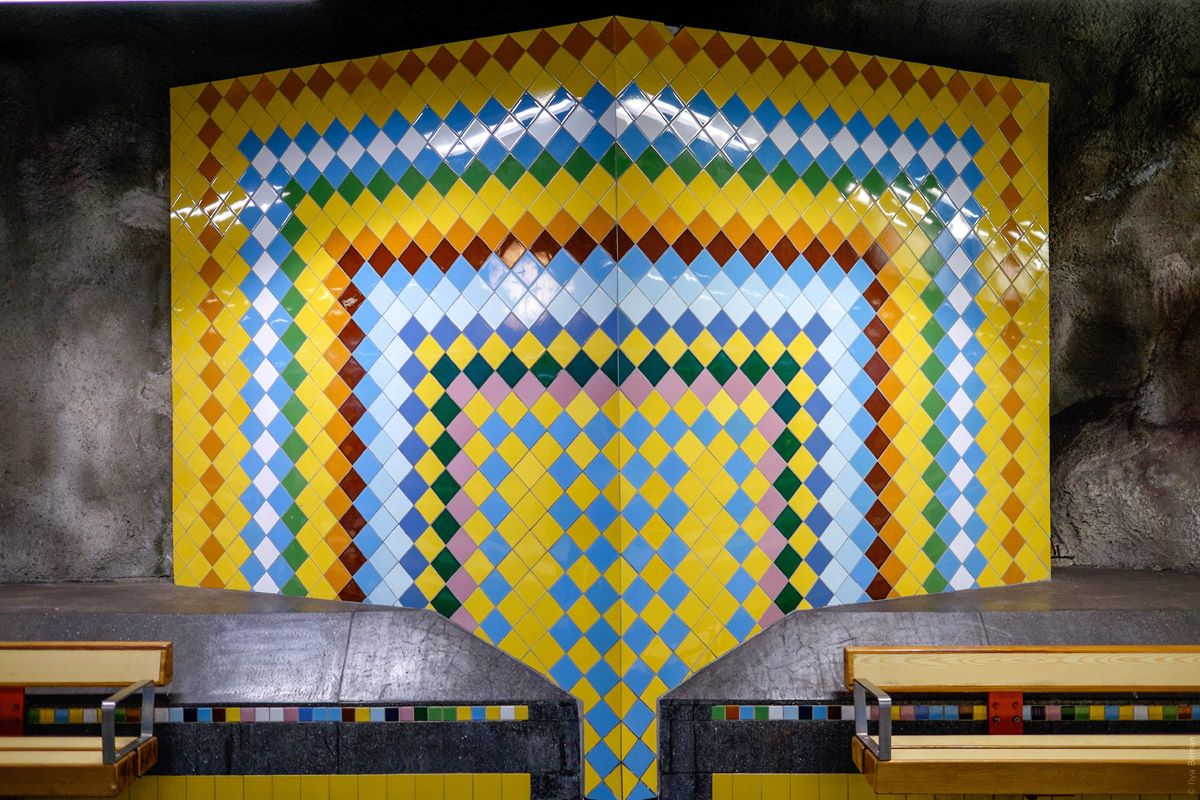
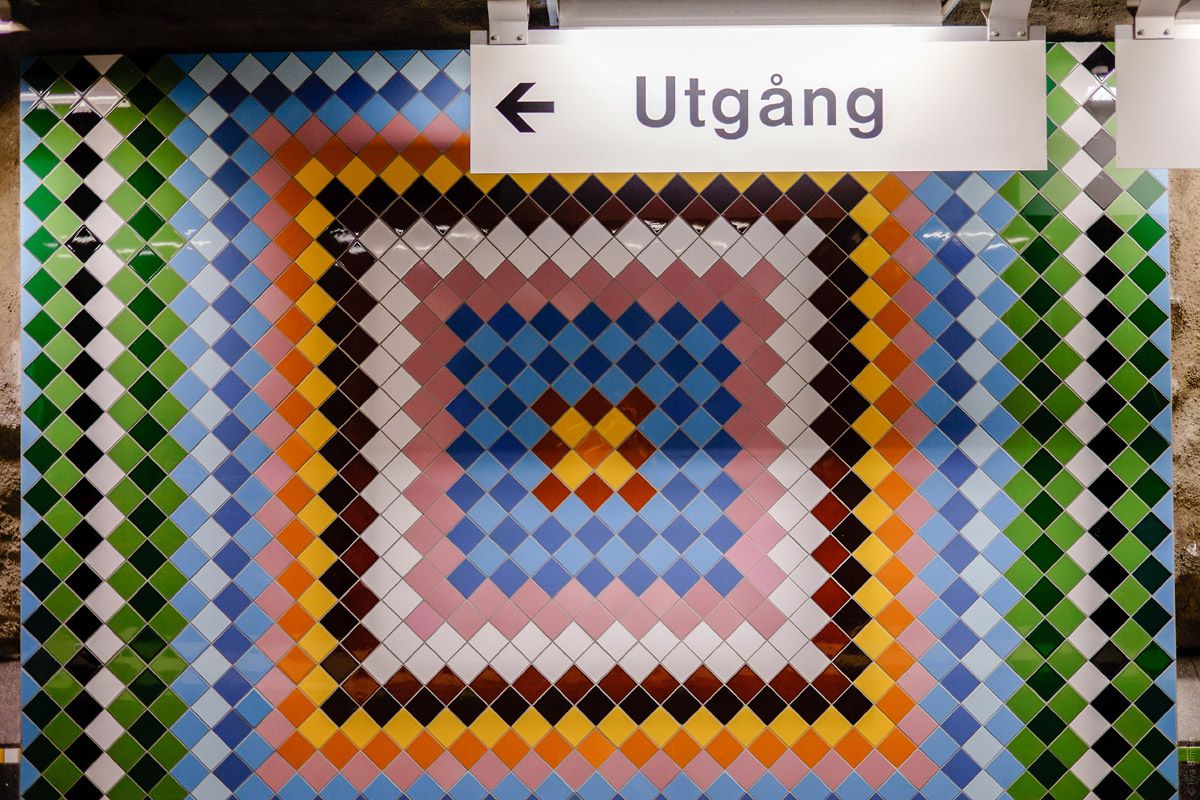
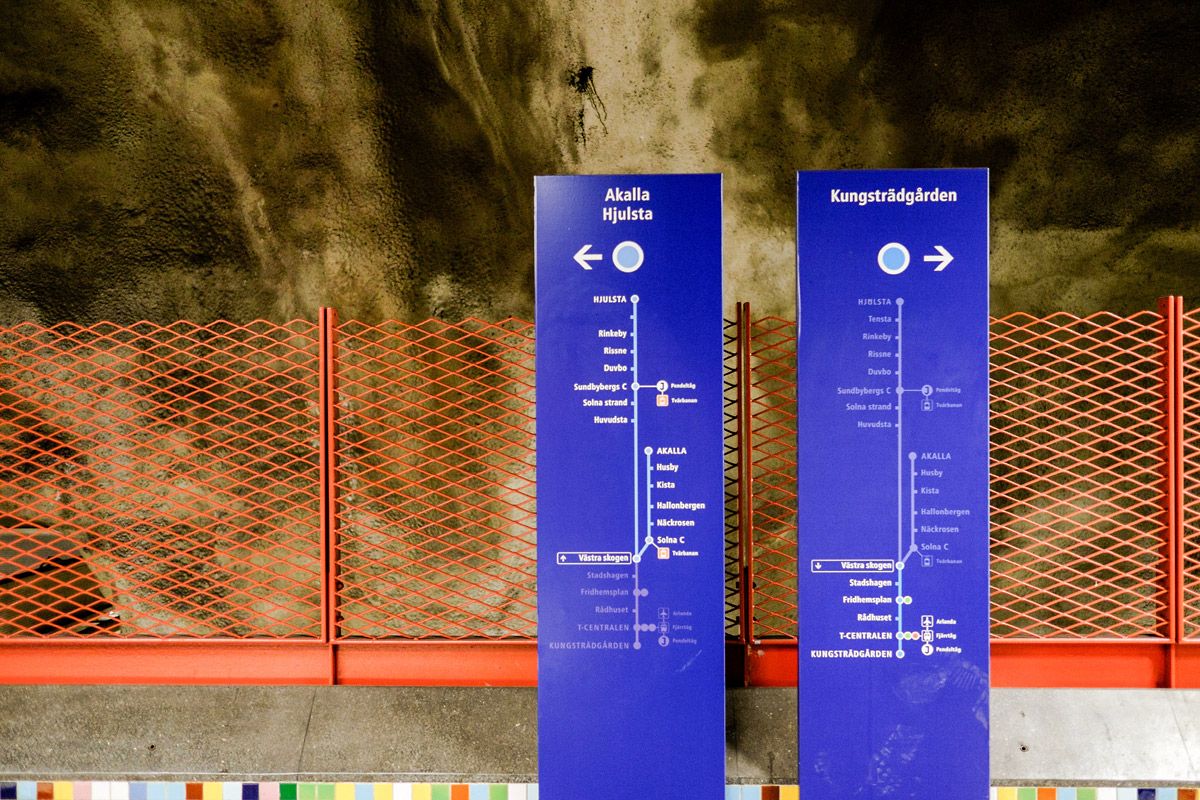
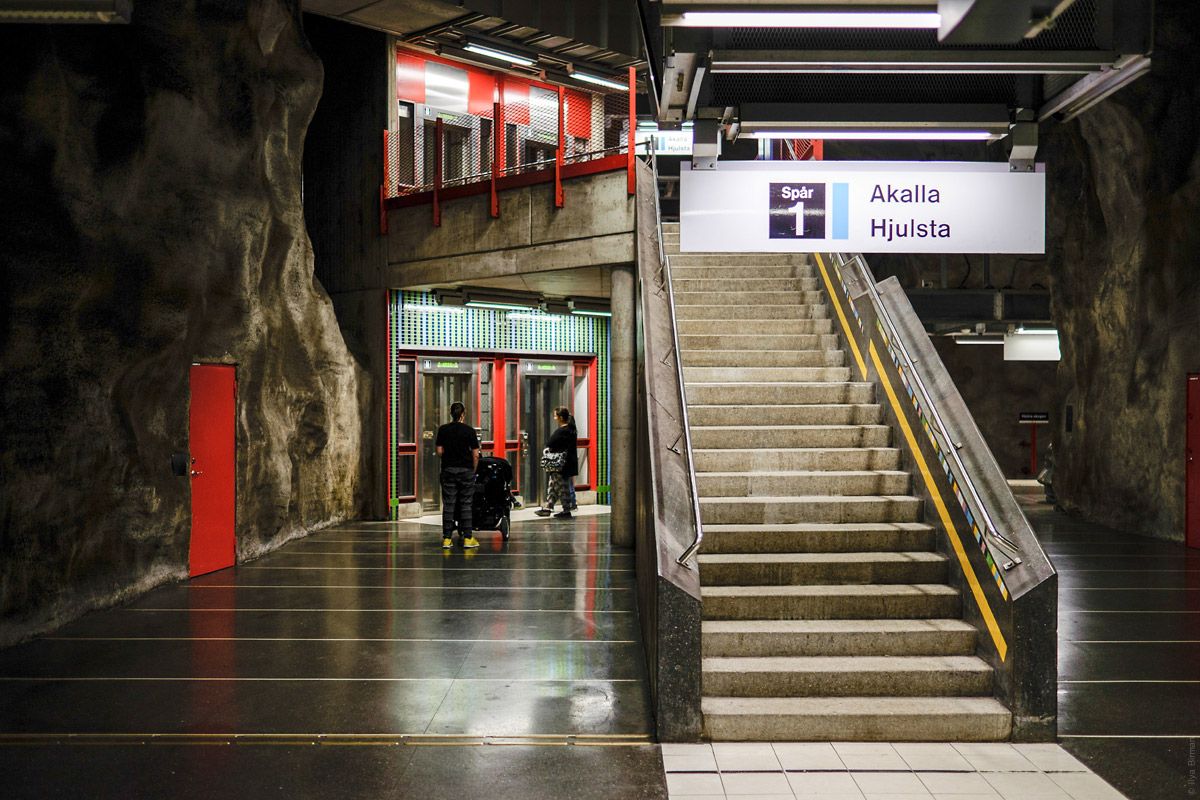
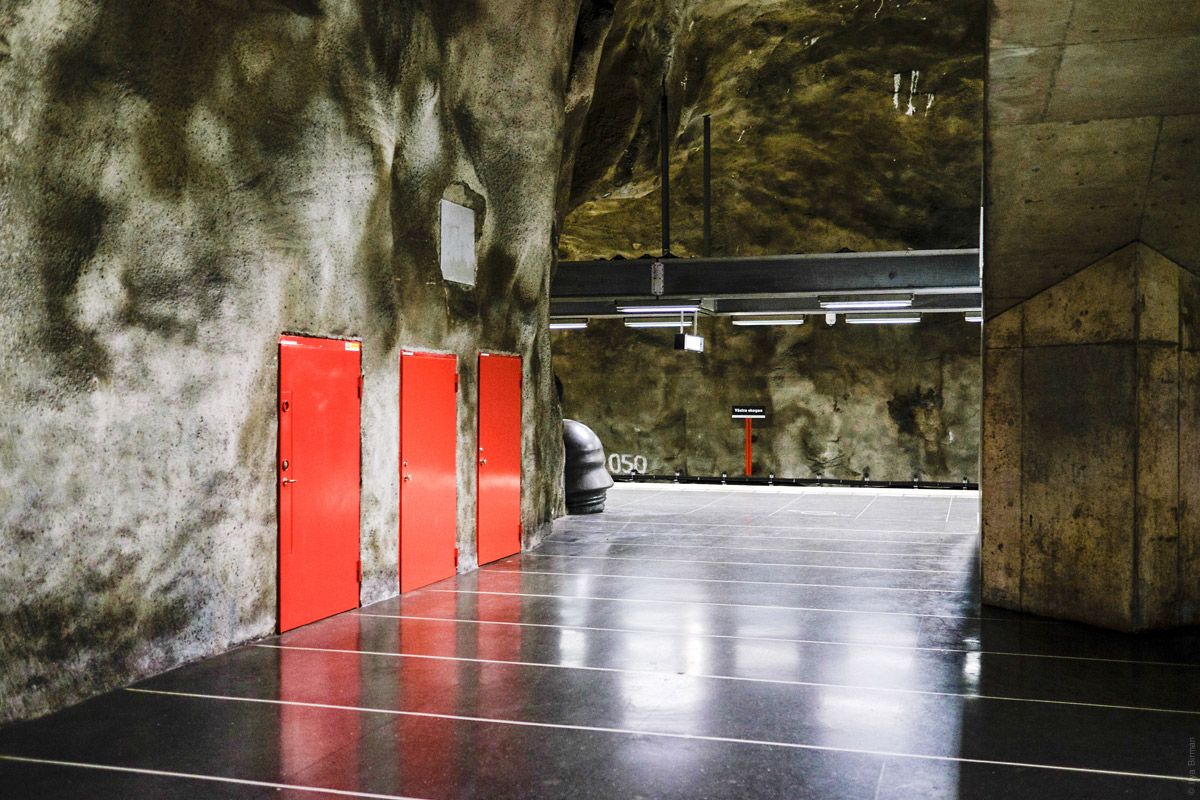
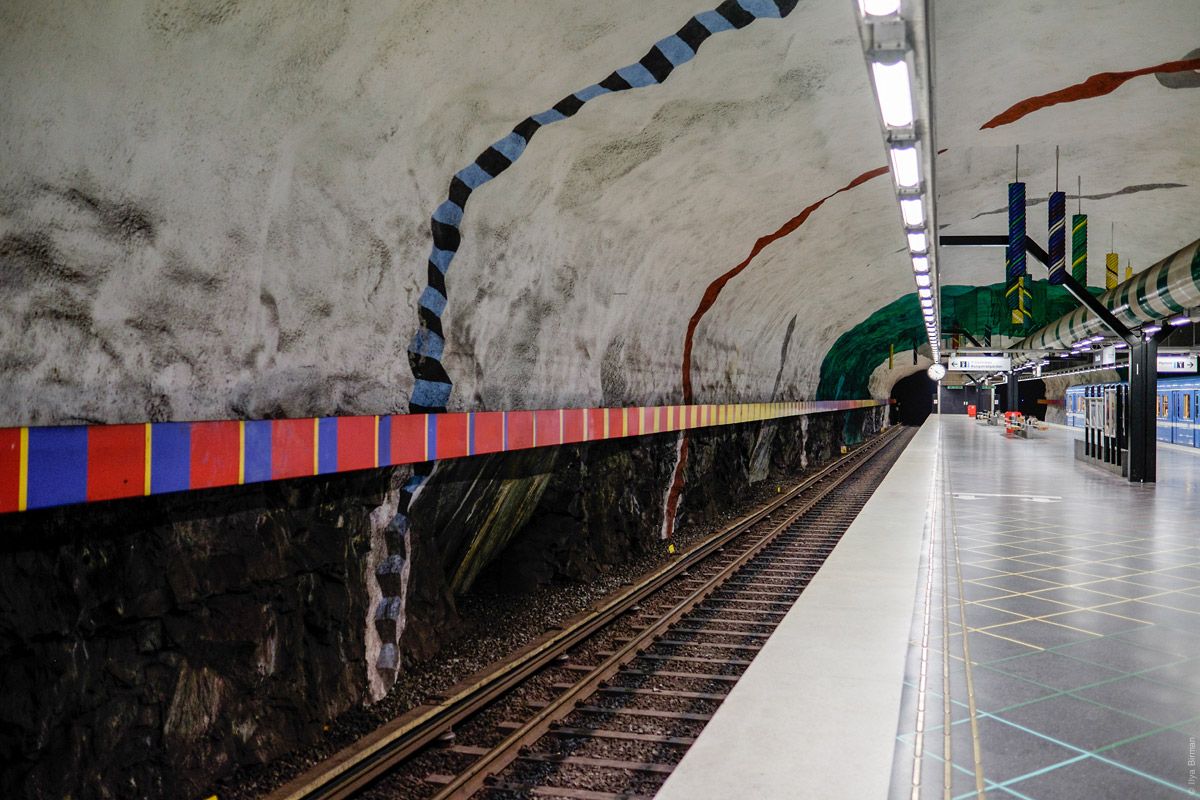
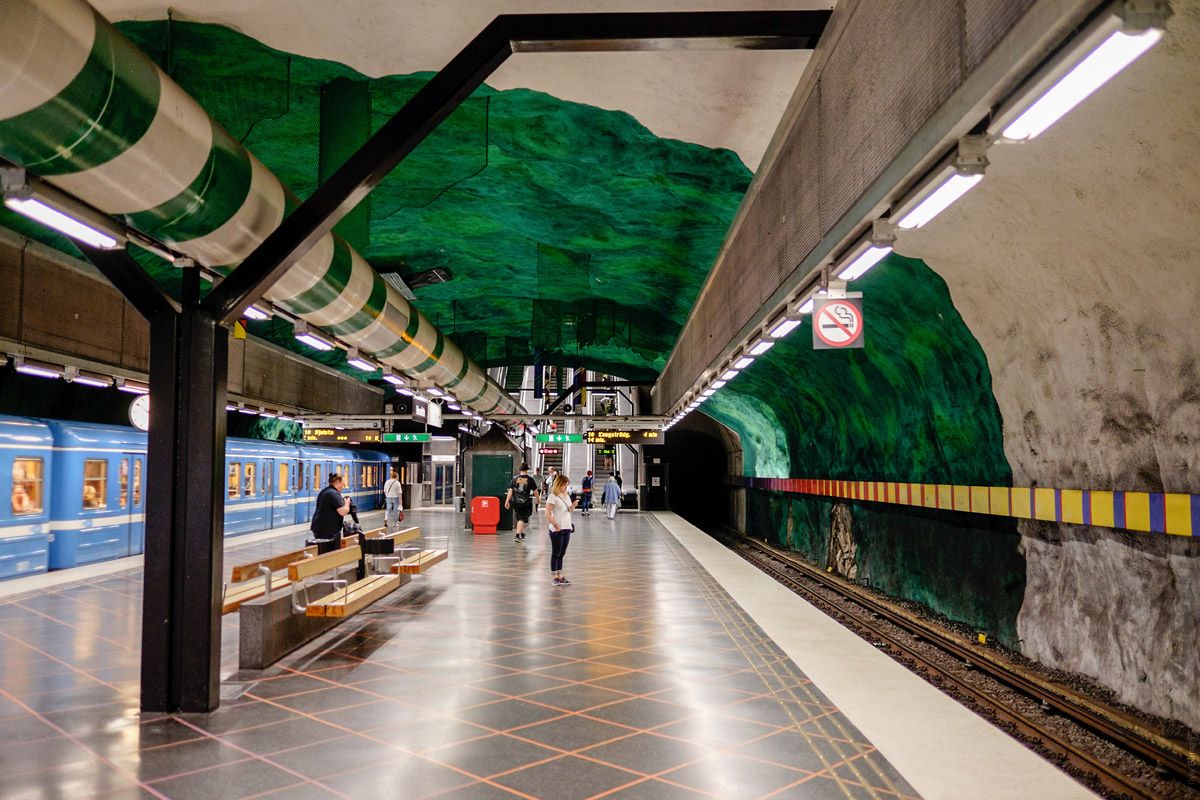
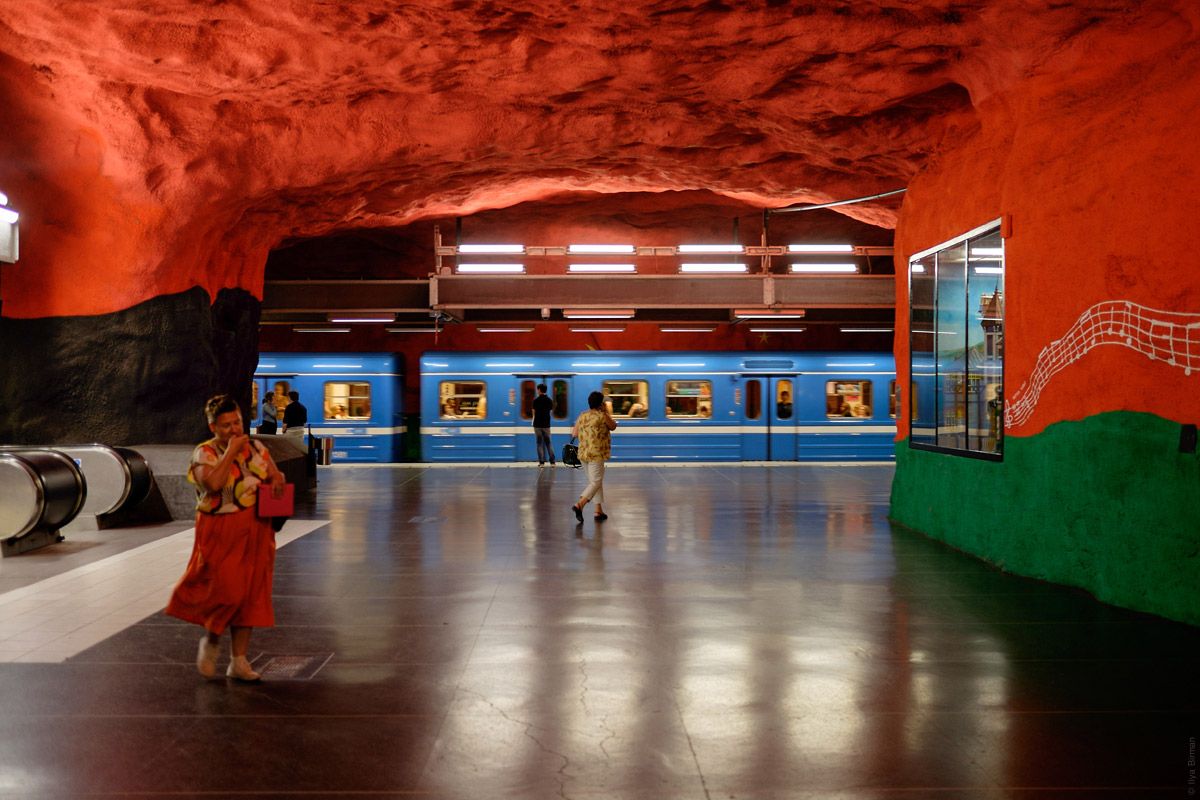
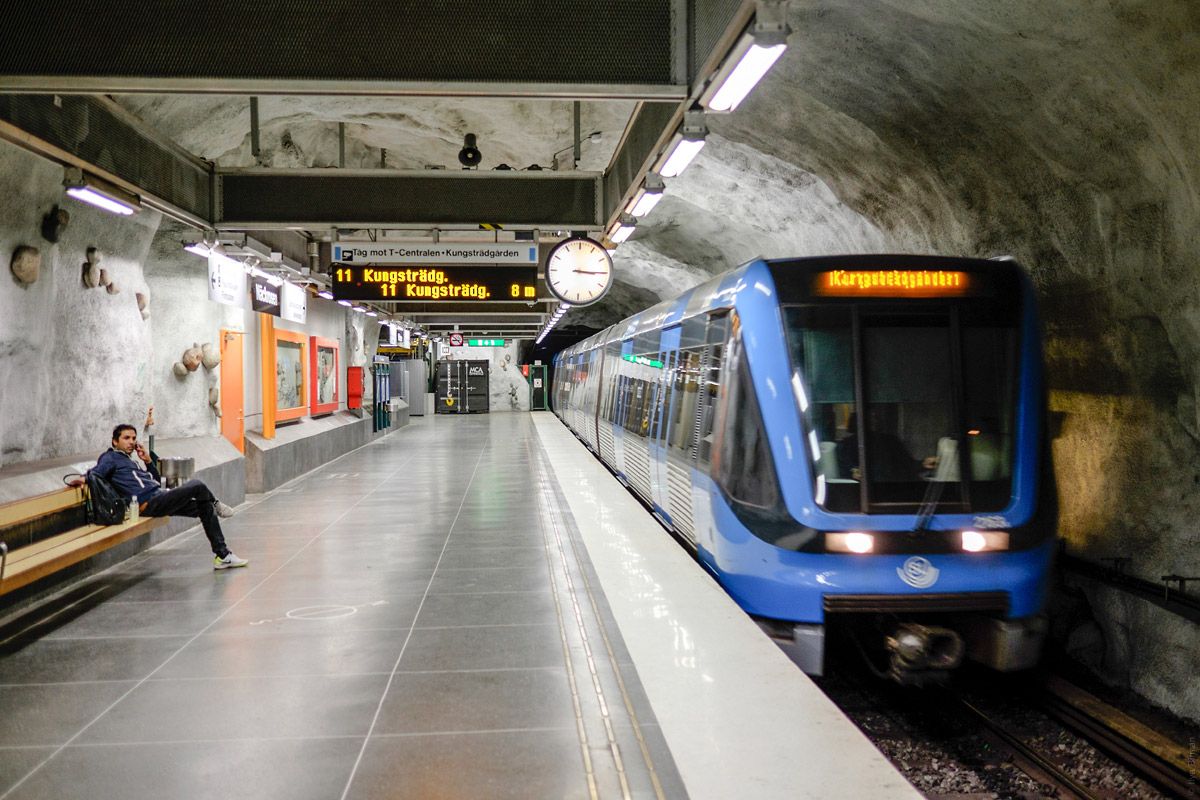
This is Solna centrum, my favourite Stockholm metro station:

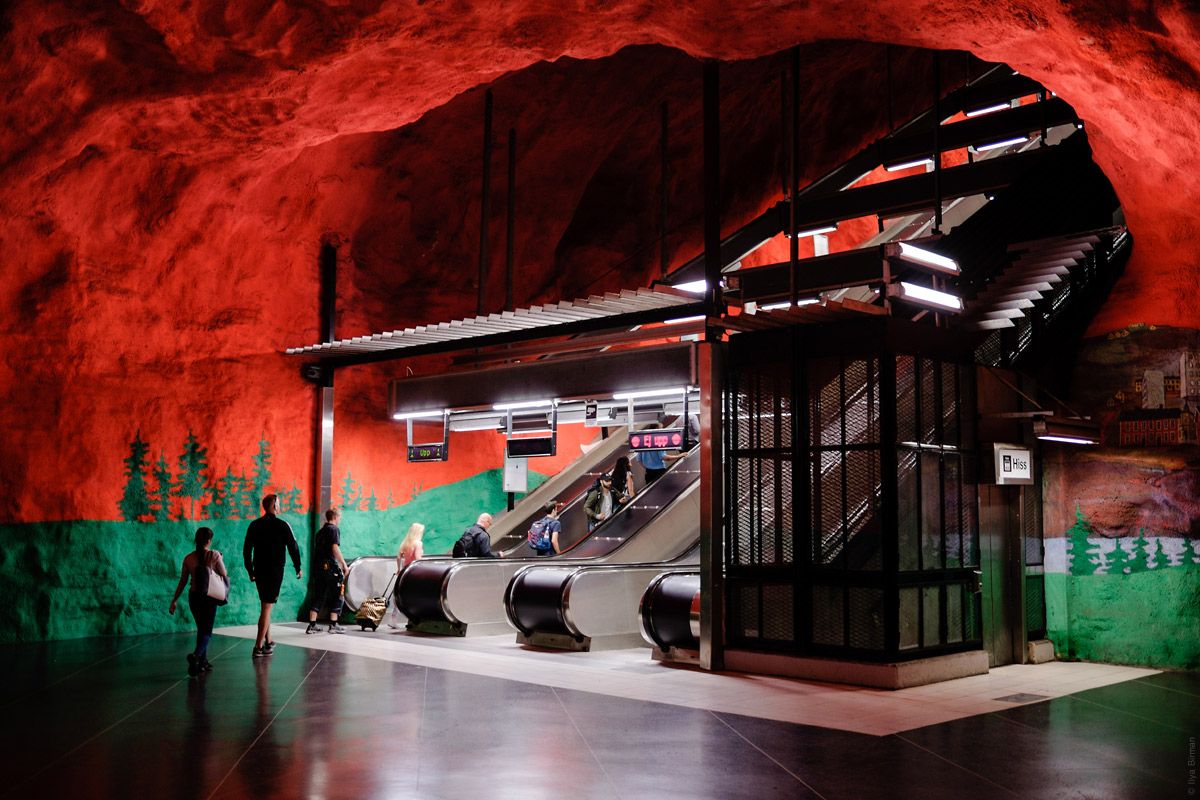
These people have just arrived and go about their business:

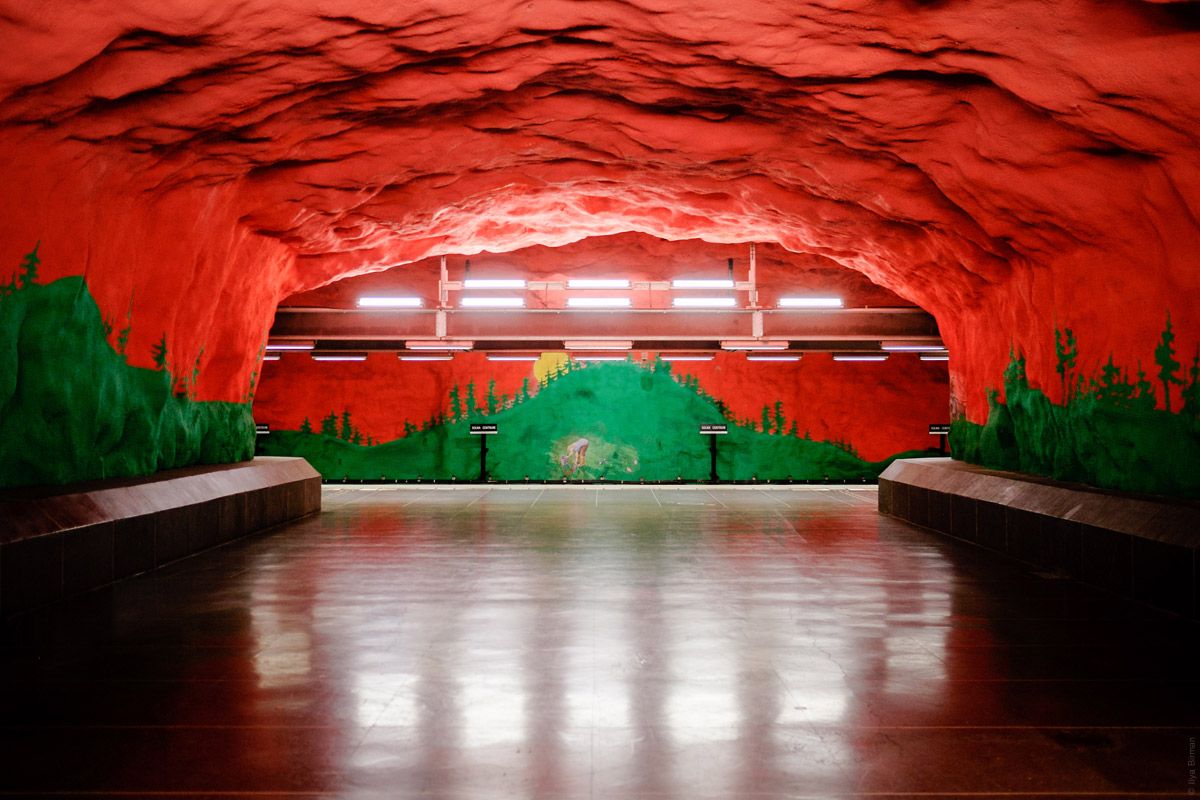
Nothing special:

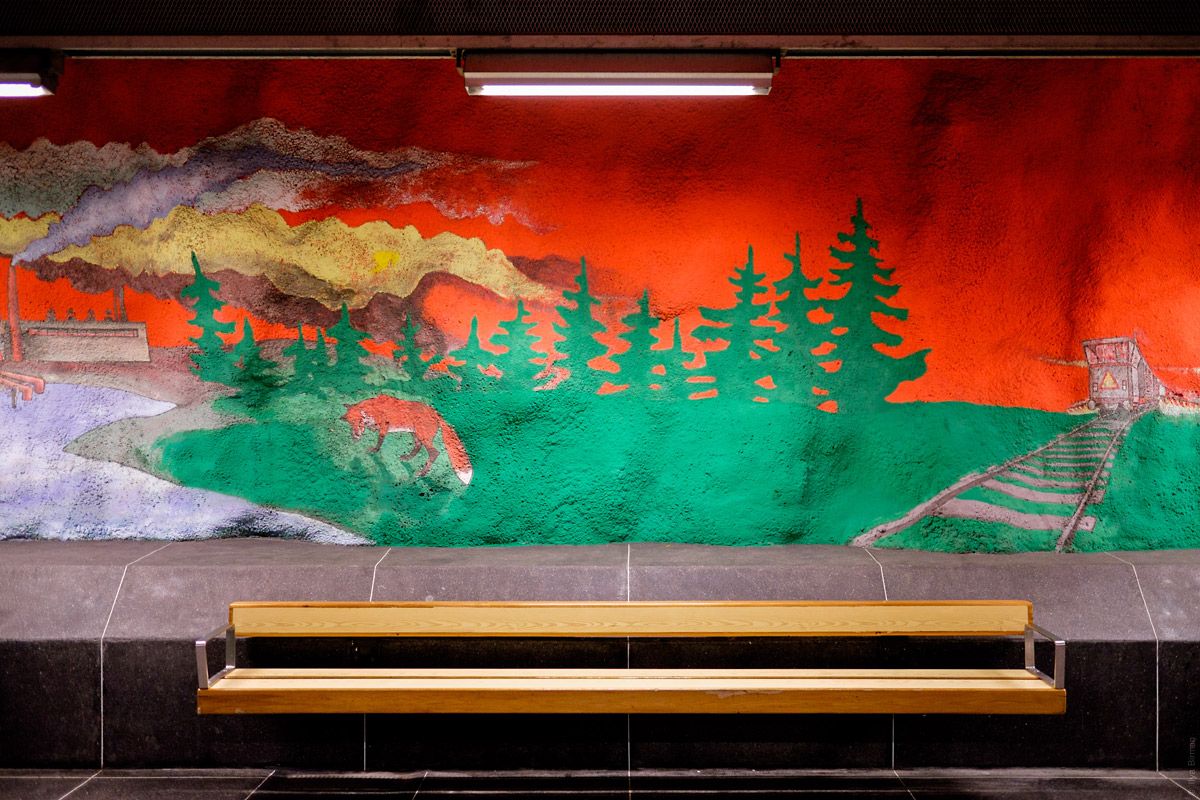
A bench:

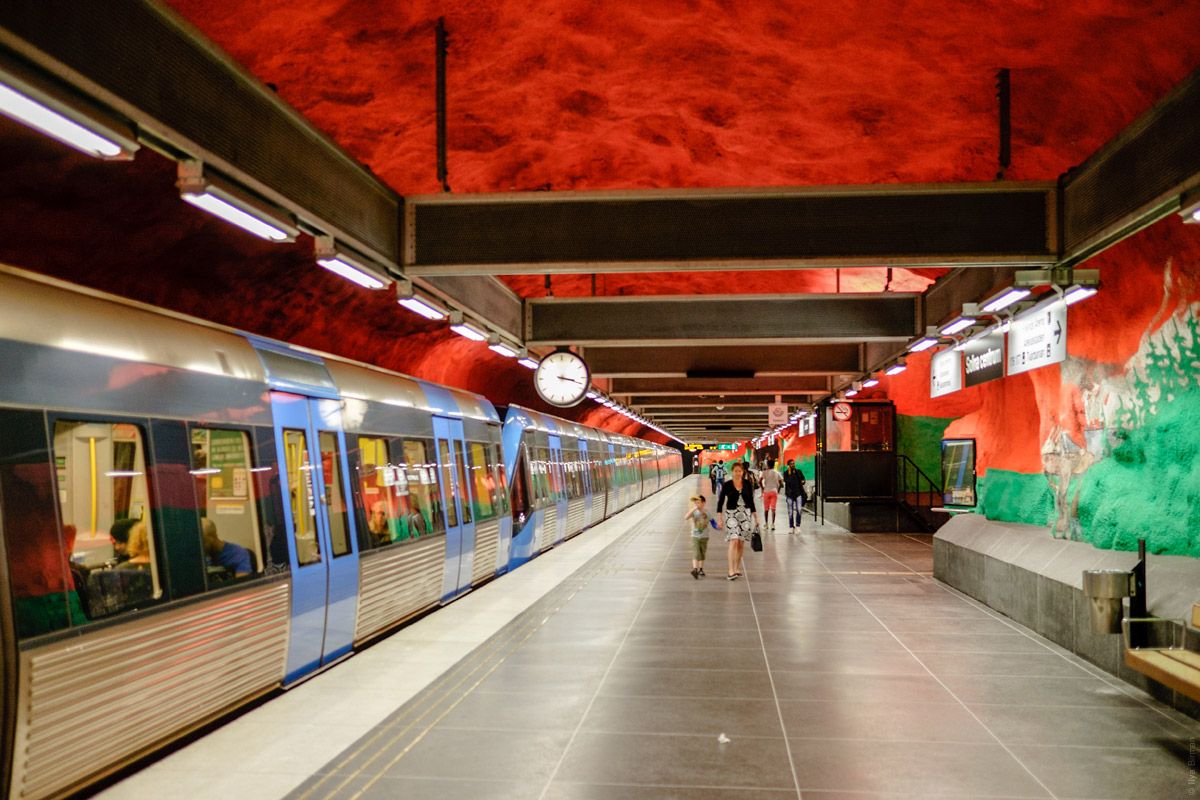
A view from one platform to opposite one:

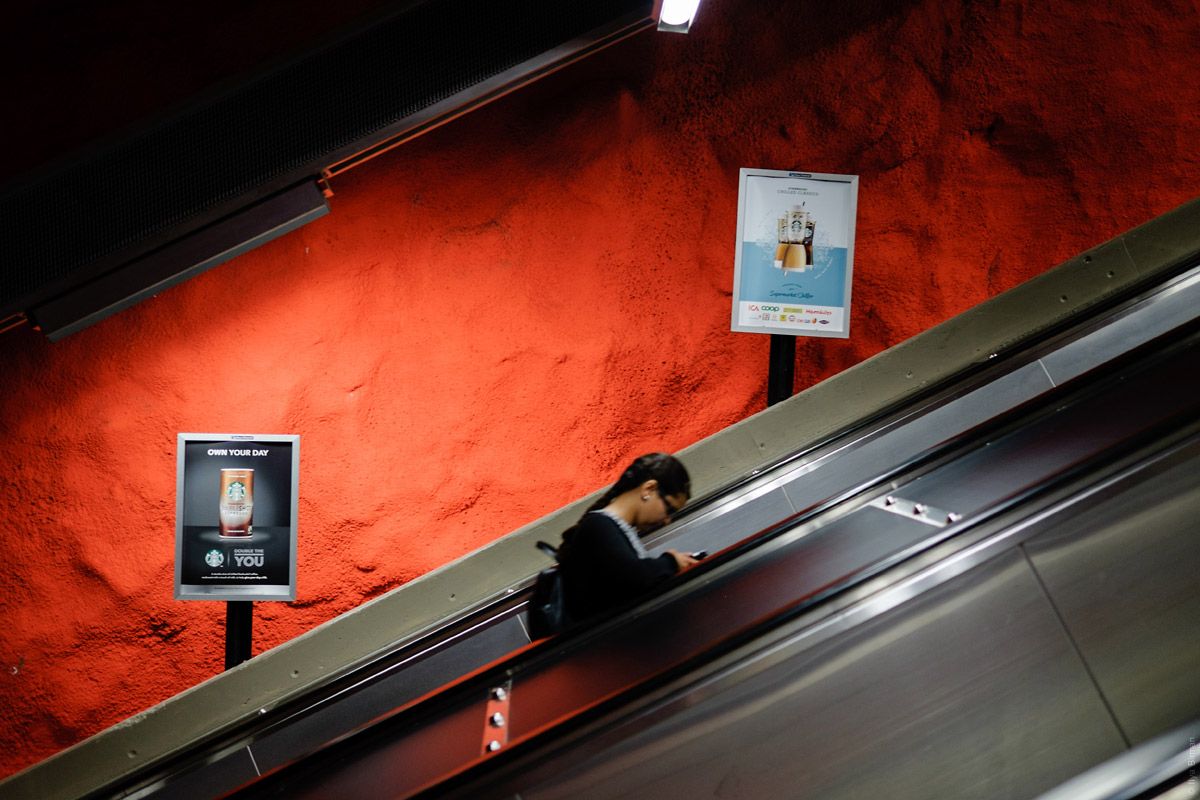
Ads don’t spoil the image:

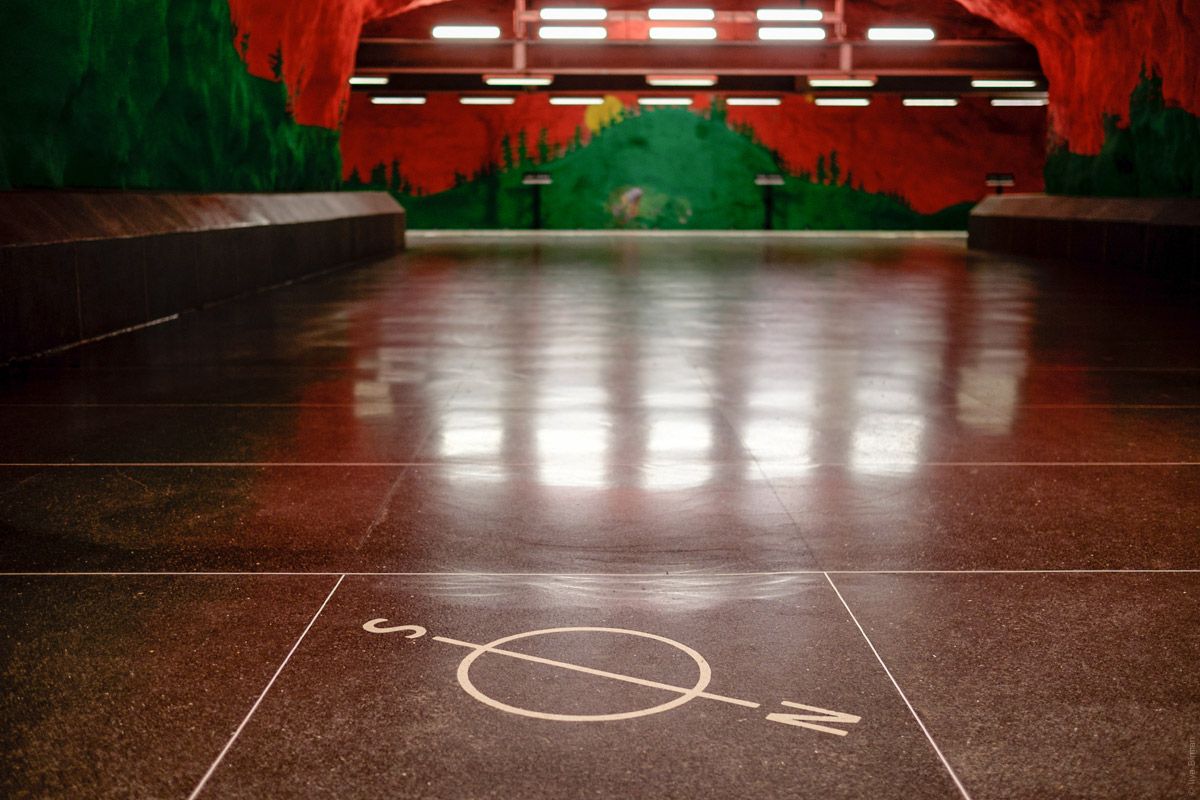
There is a compass on the floor:

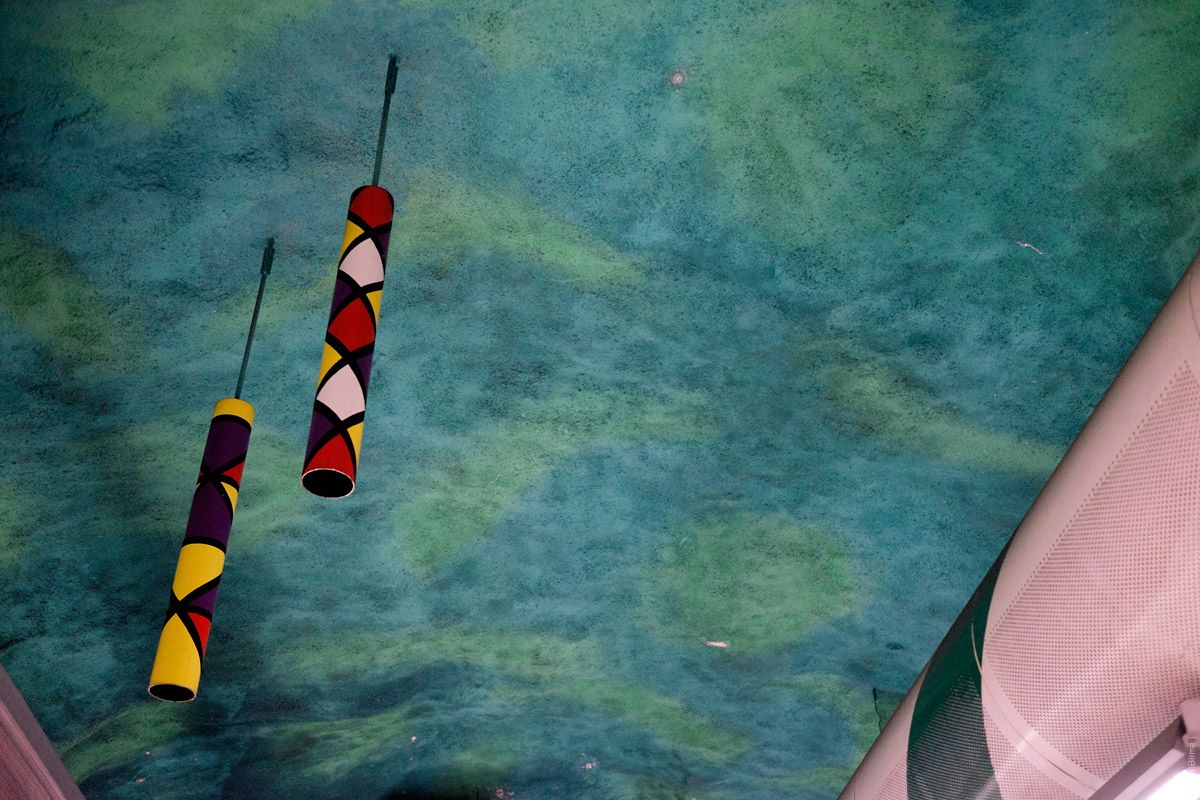
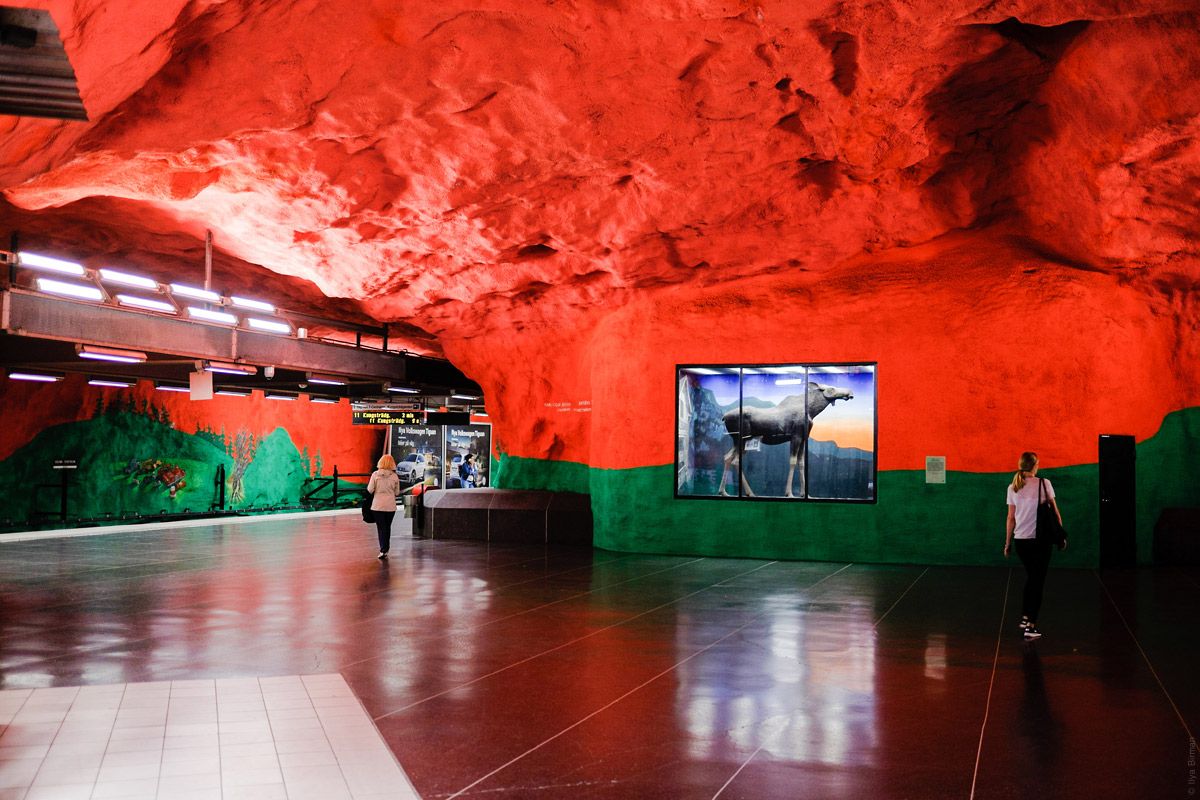
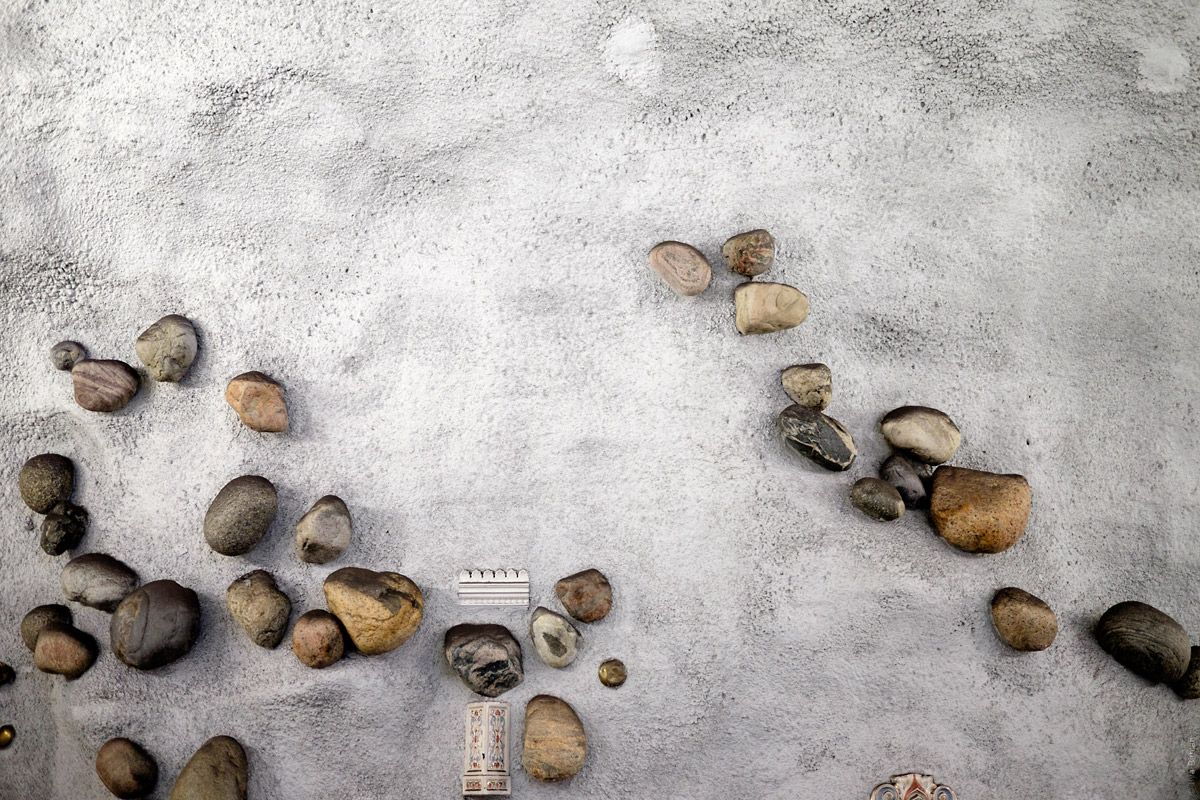
Some elk, or whatever it is, above a glass. Because why not?

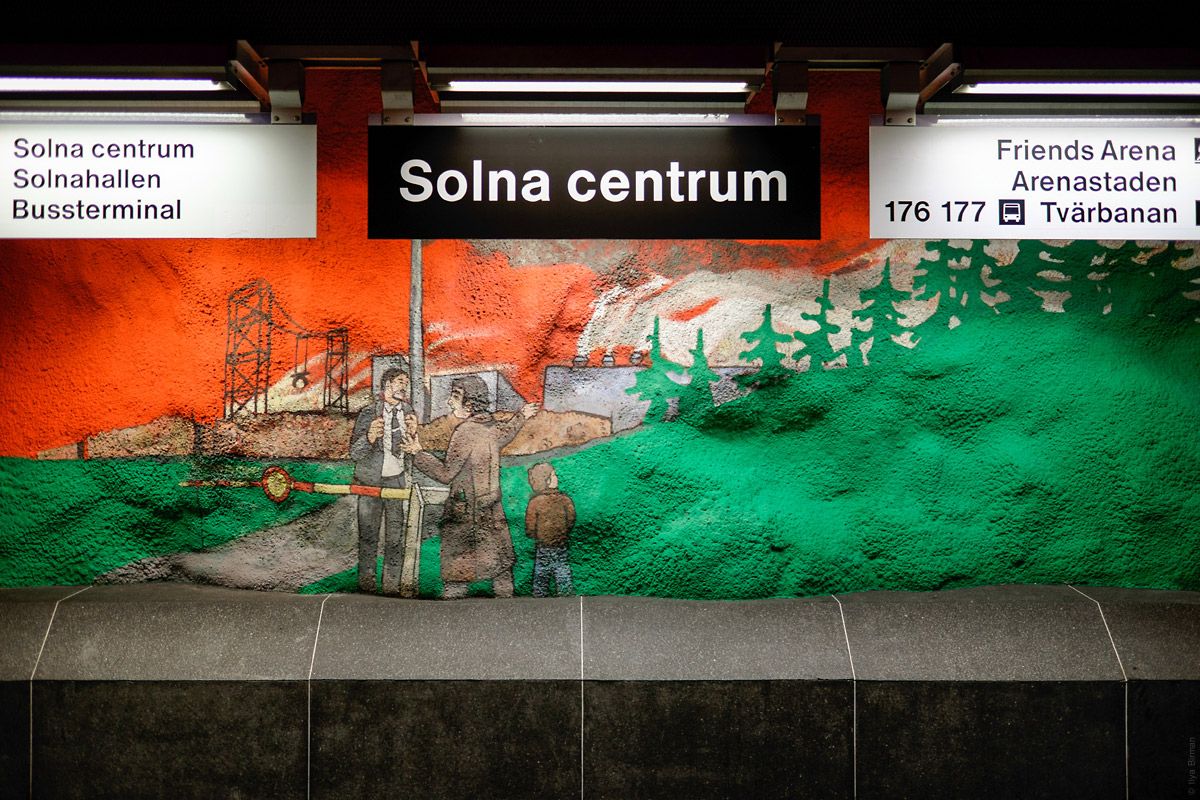
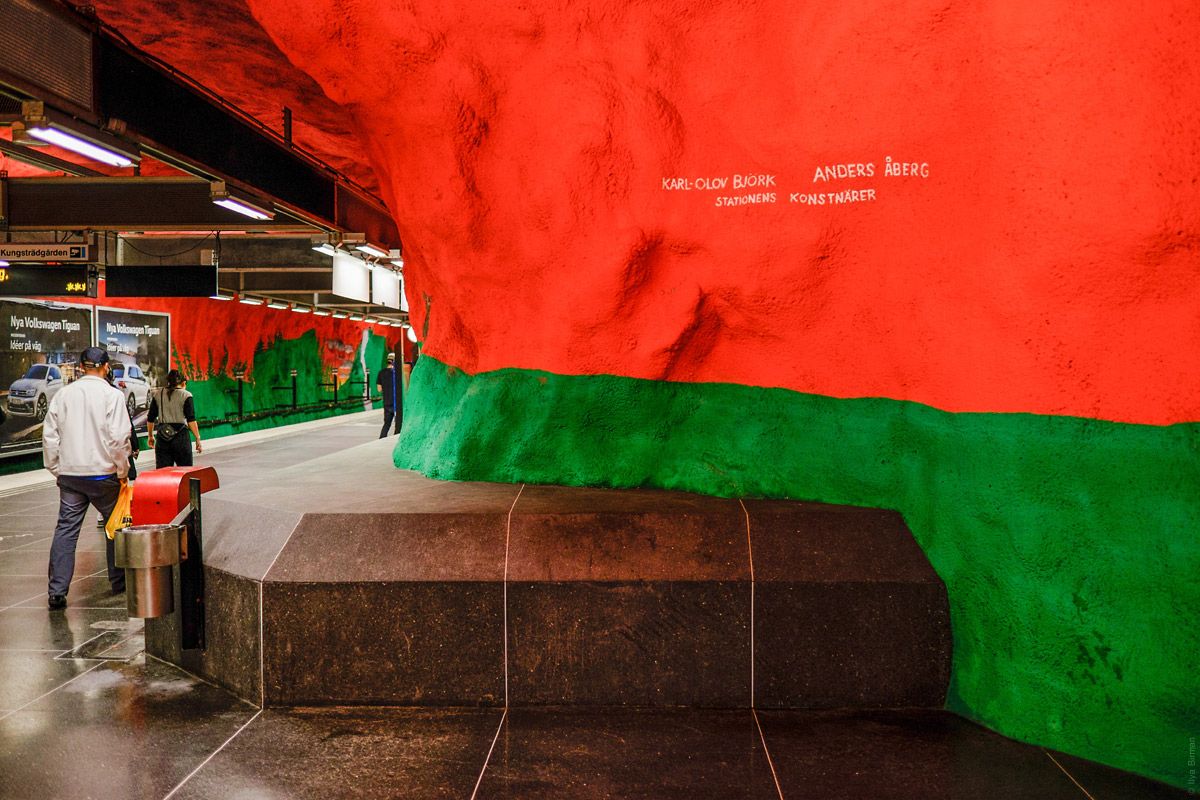
Artists’ signature:

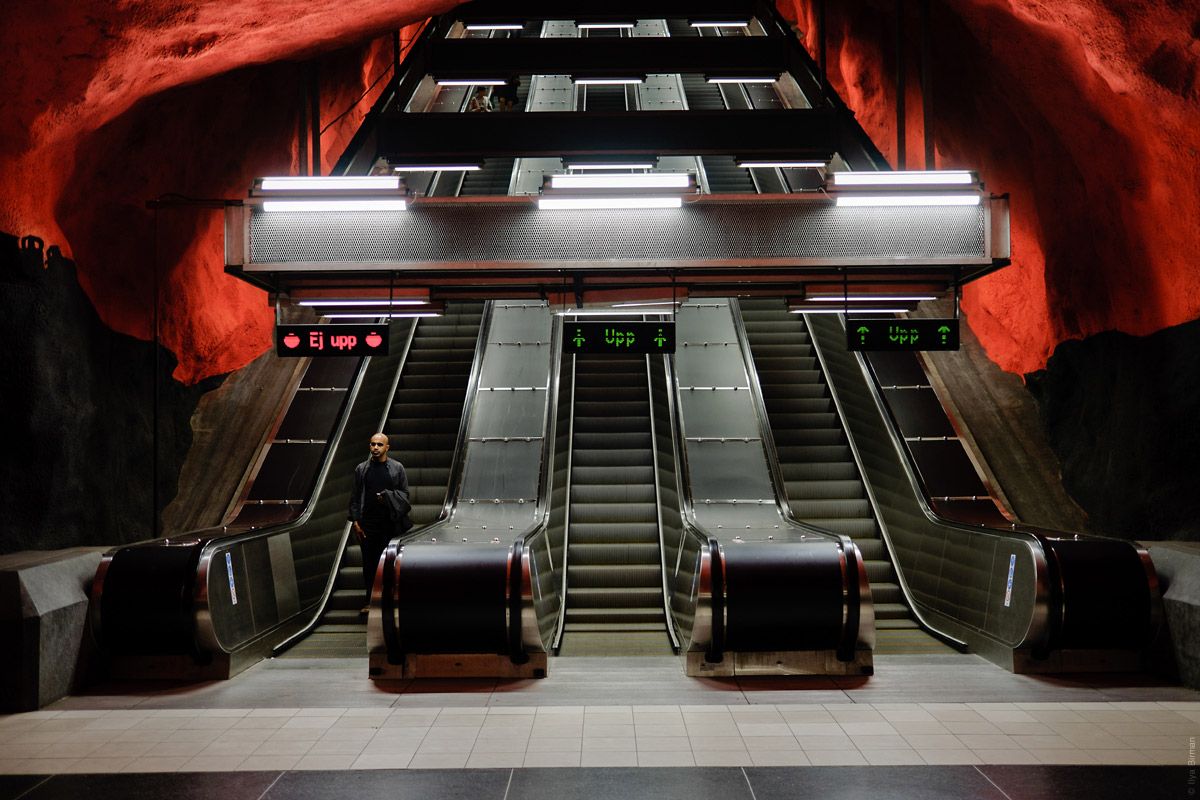
There’s black in addition to red and green. Escalators:

A man descending:

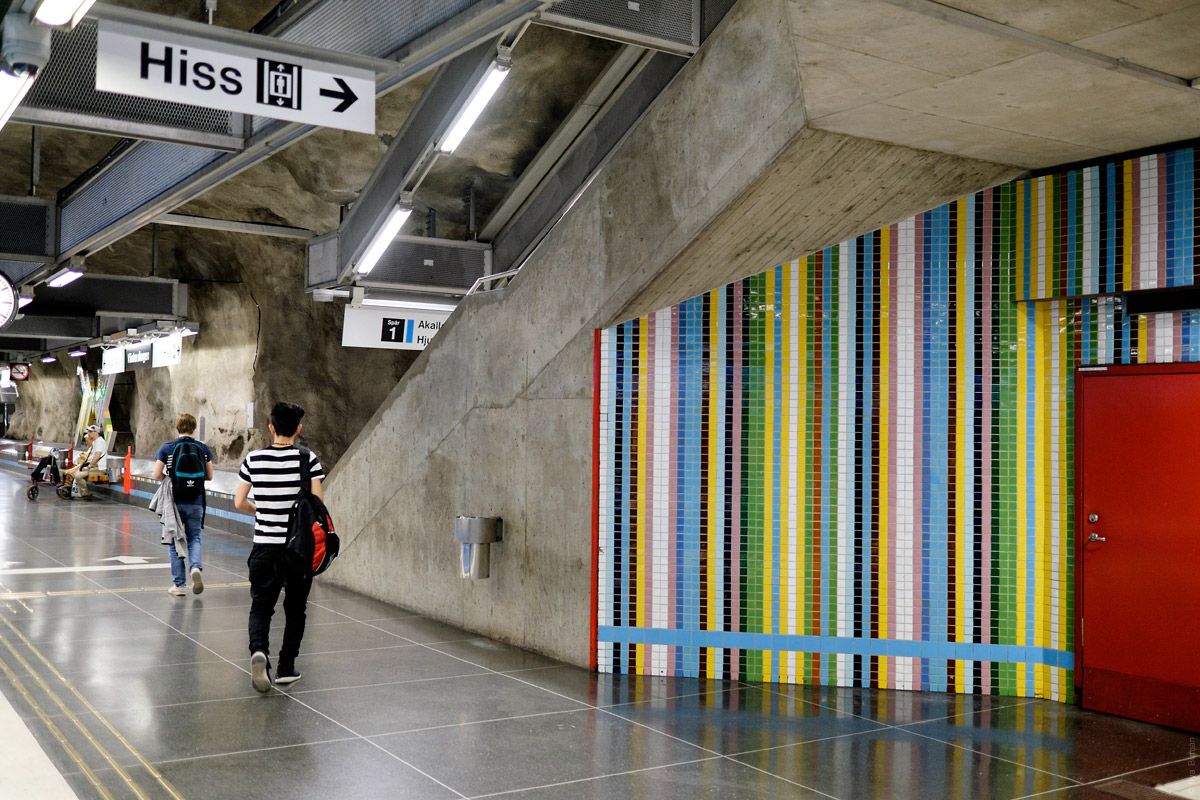
On the other end there is also a lift. It doesn’t go vertically, but follows the stairs instead:

More ads:

View upstairs:

The pictures are from the trip in June 2016.

Continued

More Stockholm metro:

Aegea 2.7 released

Aegea 2.7 has been released. Aegea is a great blogging engine.

What’s new

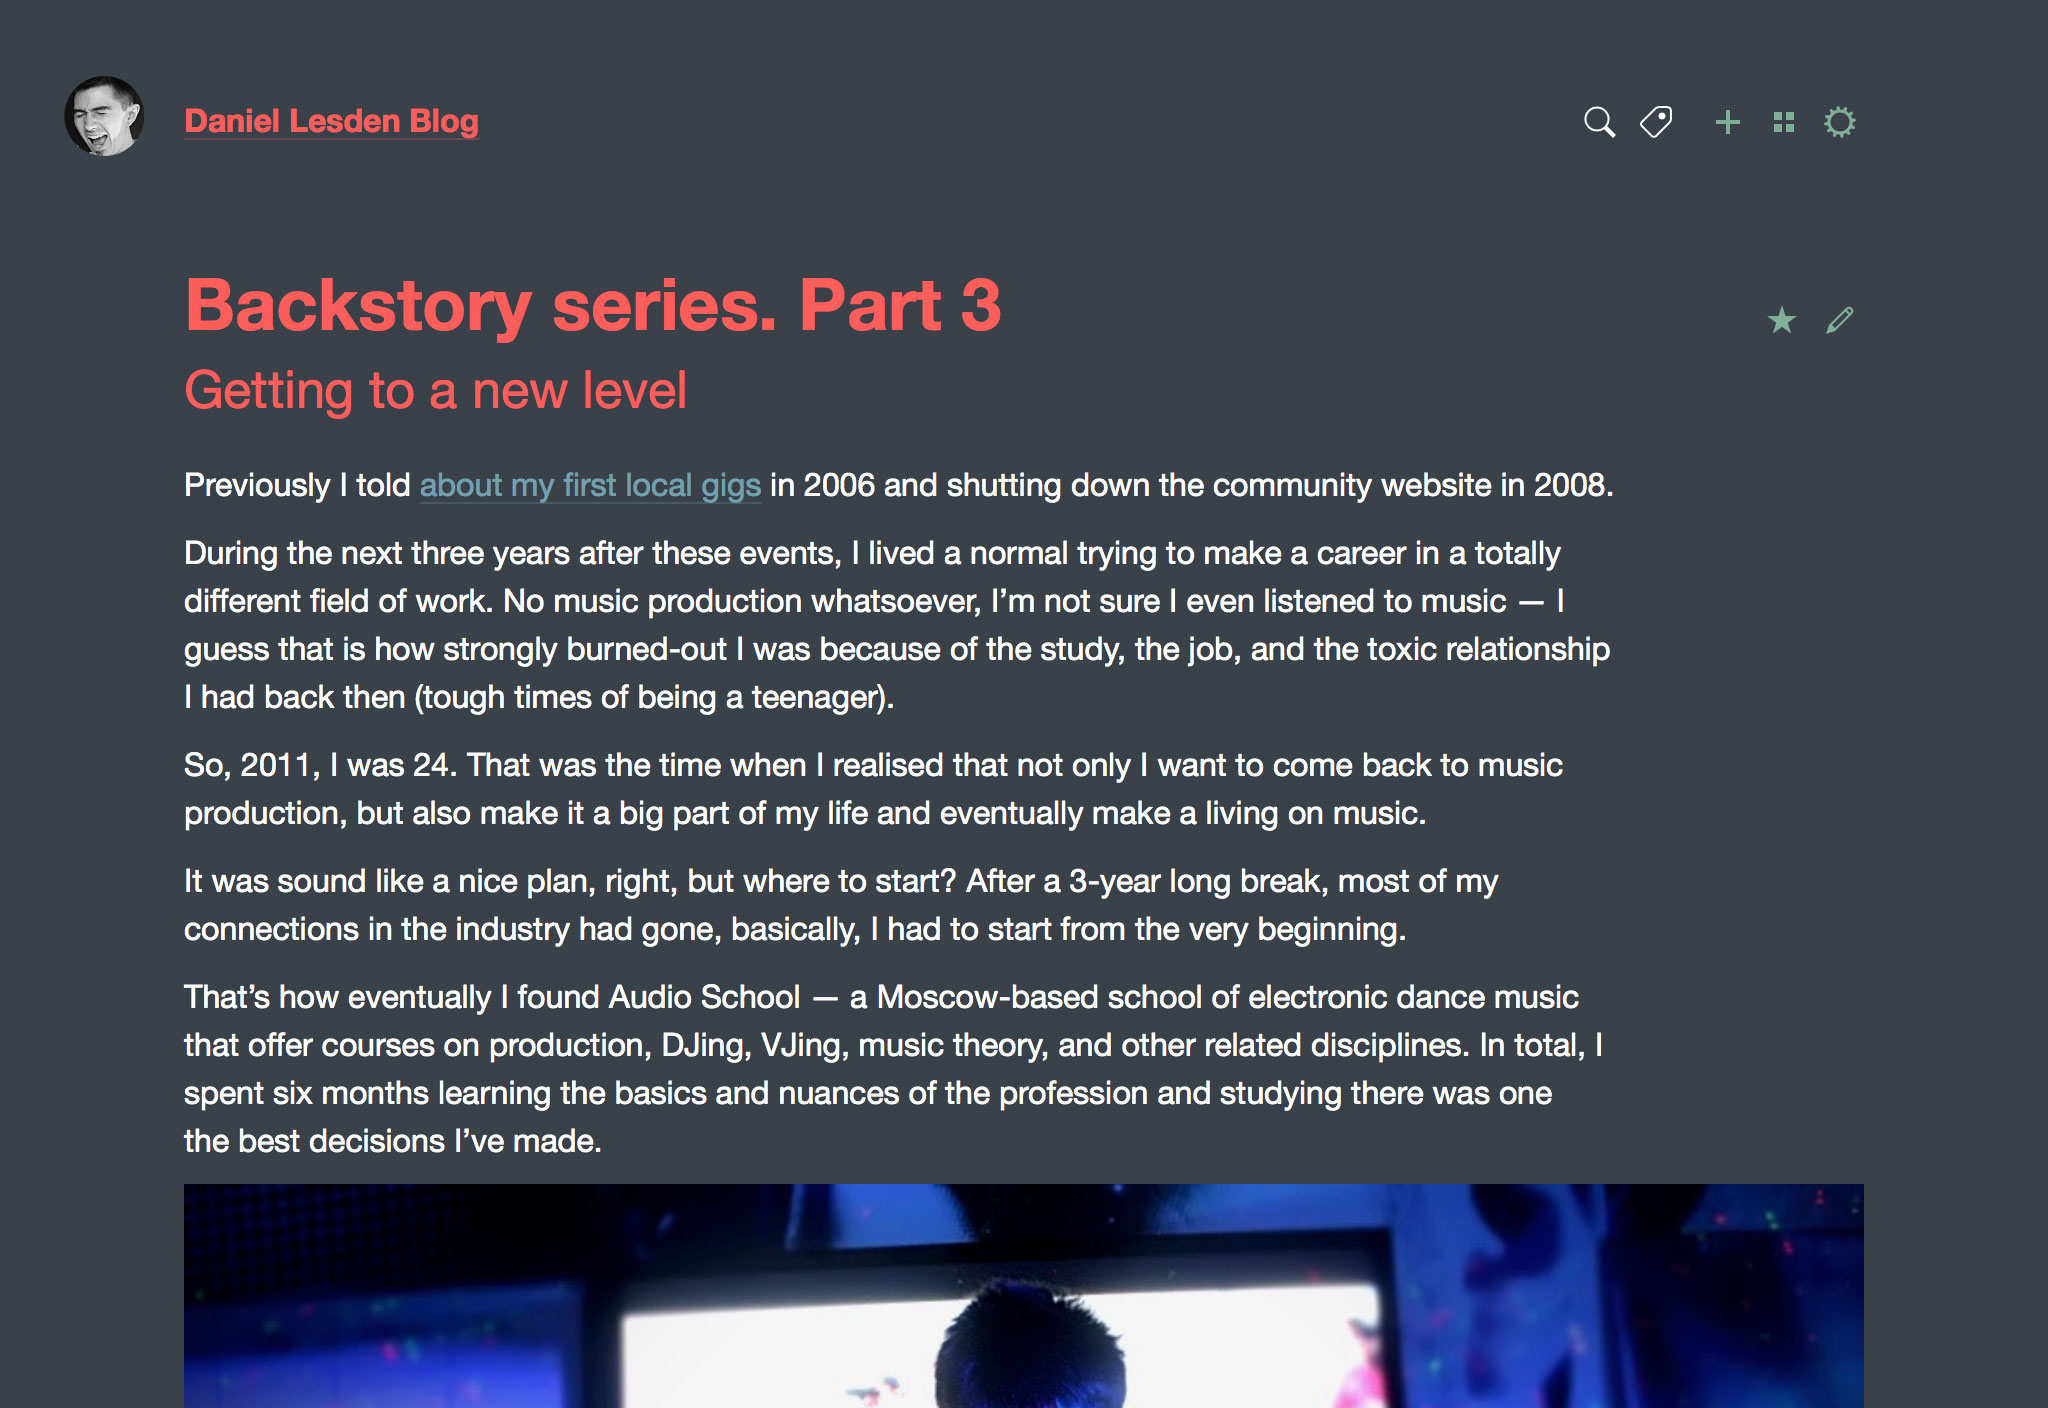
There are several new design themes, which look like this:

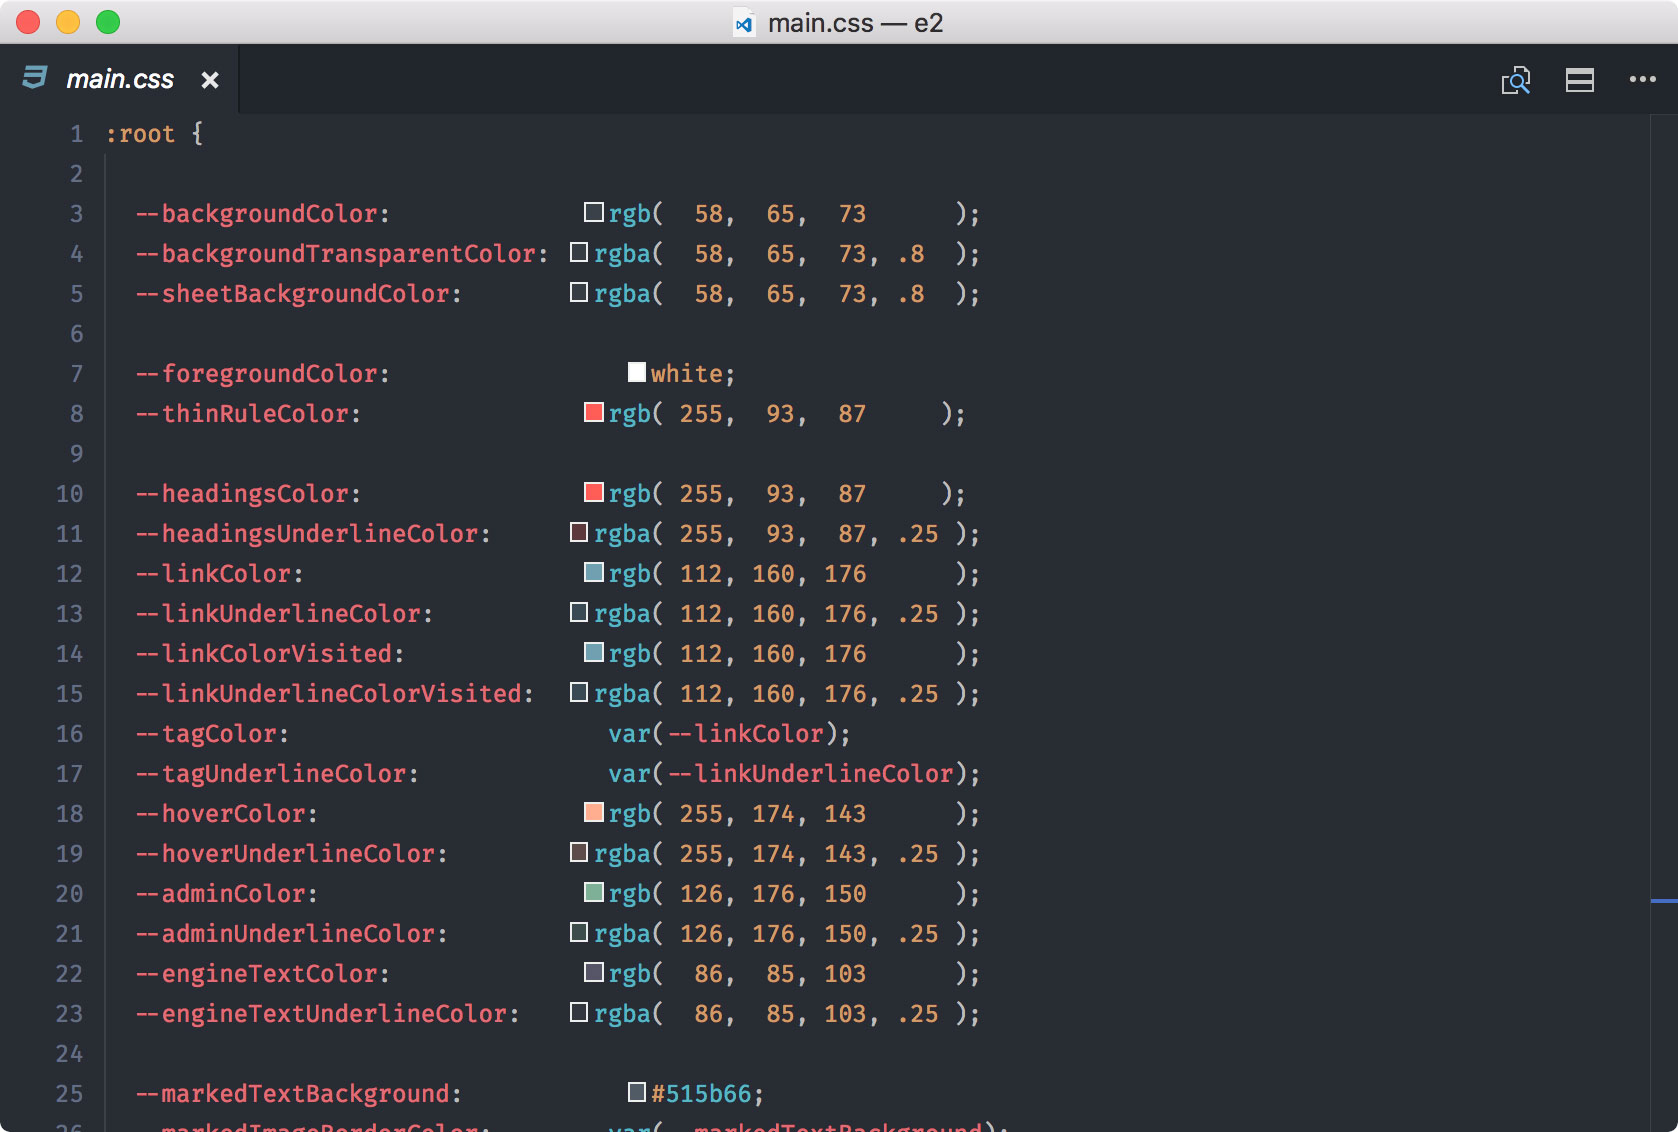
All new themes are based on the existing theme Plain, but redefine some CSS variables:

Above is the code of the theme “Douglas”, which looks like this:

You can now easily preview the themes from Settings. There is a link that opens a special contrived page, which includes all sorts of blog elements to test. This makes building themes much easier as you can preview your CSS in one place instead of wandering around the blog looking for elements to check.

The editor now supports these Google Docs keyboard shortcuts, thanks to Igor Adamenko:

⌘B bold
⌘I italic
⌘K hyperlink
⌘⌥1 heading
⌘⌥2 subheading
⌘⌥0 usual paragraph
⌘] indent
⌘[ outdent

There are also multiple improvements to the features related to social networking, comments, search, RSS and JSON feed, uploading of images and audio.

About Aegea

An engine is a program that runs on the blogger’s website. It provides the writing tools to the author, shows the posts to the readers and lets them write comments. Medium.com (or similar) is simpler, but they can shut down and take all your posts offline. With an engine, the blog runs on your own website and you have access to the files and the database (you don’t have to deal with the files or the database, but you own all the data).

I want most people to have access to personal blogging in this way. That’s why it uses the most easily available platform: PHP with MySQL.

Aegea powers this and many other blogs. Among my favourites:

With Aegea, you can use one of the built-in themes or customise it however you like (this blog is an example). Be flexible with comments: allow and disallow them globally or per post. Refine posts using Drafts. Add images, videos, audio or code to illustrate your point. Organise your writing with tags.

Designers, writers, musicians and software developers use Aegea to show their work, communicate and spread knowledge. They love it because it’s simple and fast yet does everything they need. Aegea is free for personal use and paid for business use.

Learn more and get Aegea at blogengine.me.

Stockholm metro trains

First read the introductory post about Stockholm metro. Now, let’s look at the trains.

The new train:

Stadion

The display above the door shows the destination station:

Mind the gap:

Inside:

Closer. Note the pictograms on the door:

Typesetting:

Different angle:

The line diagram on a transparent background next to the doors:

More pictograms:

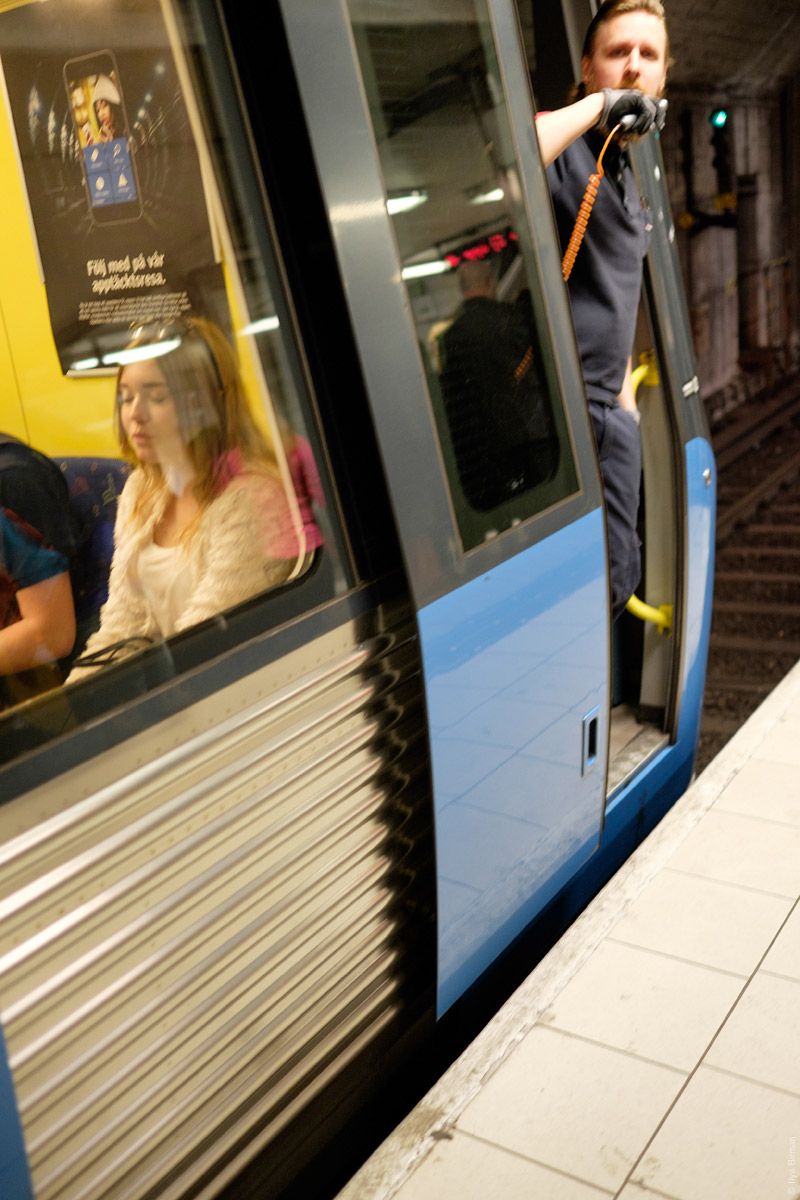
At stations, the driver leans halfway out of the train to see the people when announcing that the doors are closing:

The old train:

Kungsträdgården

The train at the most incredible station:

Solna centrum

I’ll cover it in the next post.

Inside the old train:

The view in the opposite direction:

The diagram on the ceiling:

The transport system ads:

Simple but effective:

A freight train passes:

The pictures are from the trip in June 2016.

Continued

See also:

Stockholm metro

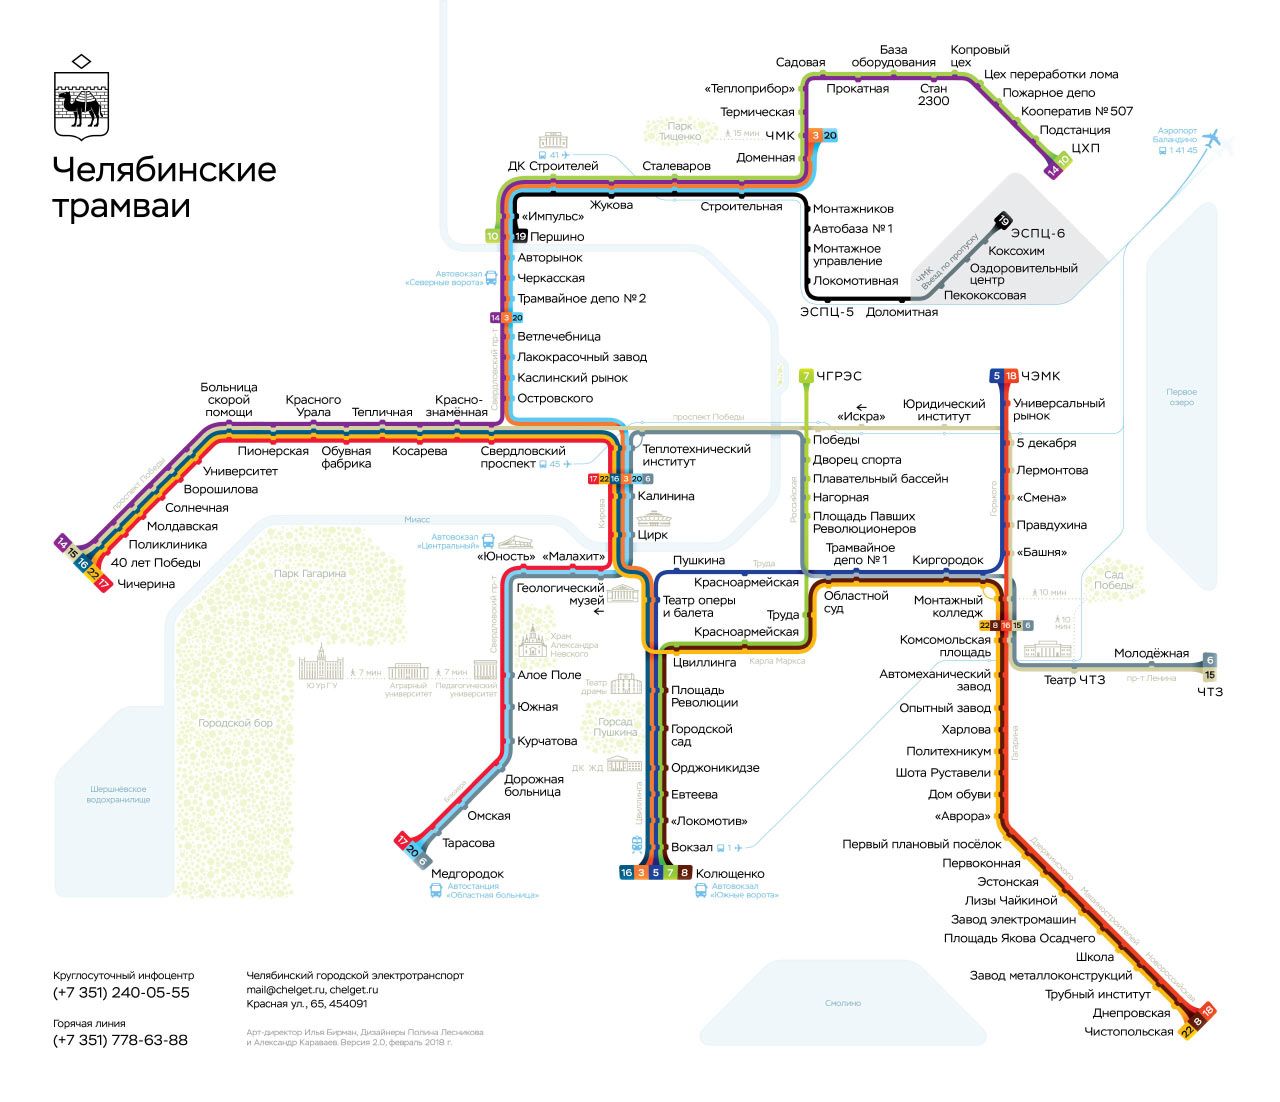
This is a kind of photos you usually see in blog posts titled “Stockholm metro”:

Rådhuset

You may think that all Stockholm metro is like this. But when you come to Stockholm and go to the metro, what you see is this:

Skanstull

Not all stations are fantastic, you must know where to go. I will get to the good ones, but will start with the other things.

The station entrances are denoted with the letter T, because metro is a “tunnel road” (tunnelbana). The entrance from the central rail station:

T-Centralen

In Swedish, the definite article is expressed as a suffix, including -n, so sometimes you see a funny word tunnelbanan (“the tunnel road”):

The entrance in the old town:

Gamla stan

Another one in the central part of the city:

Medborgarplatsen

The “T” thing itself is of a very nice form:

Gamla stan

And it is glowing at night:

Slussen

A lift at one of the stations:

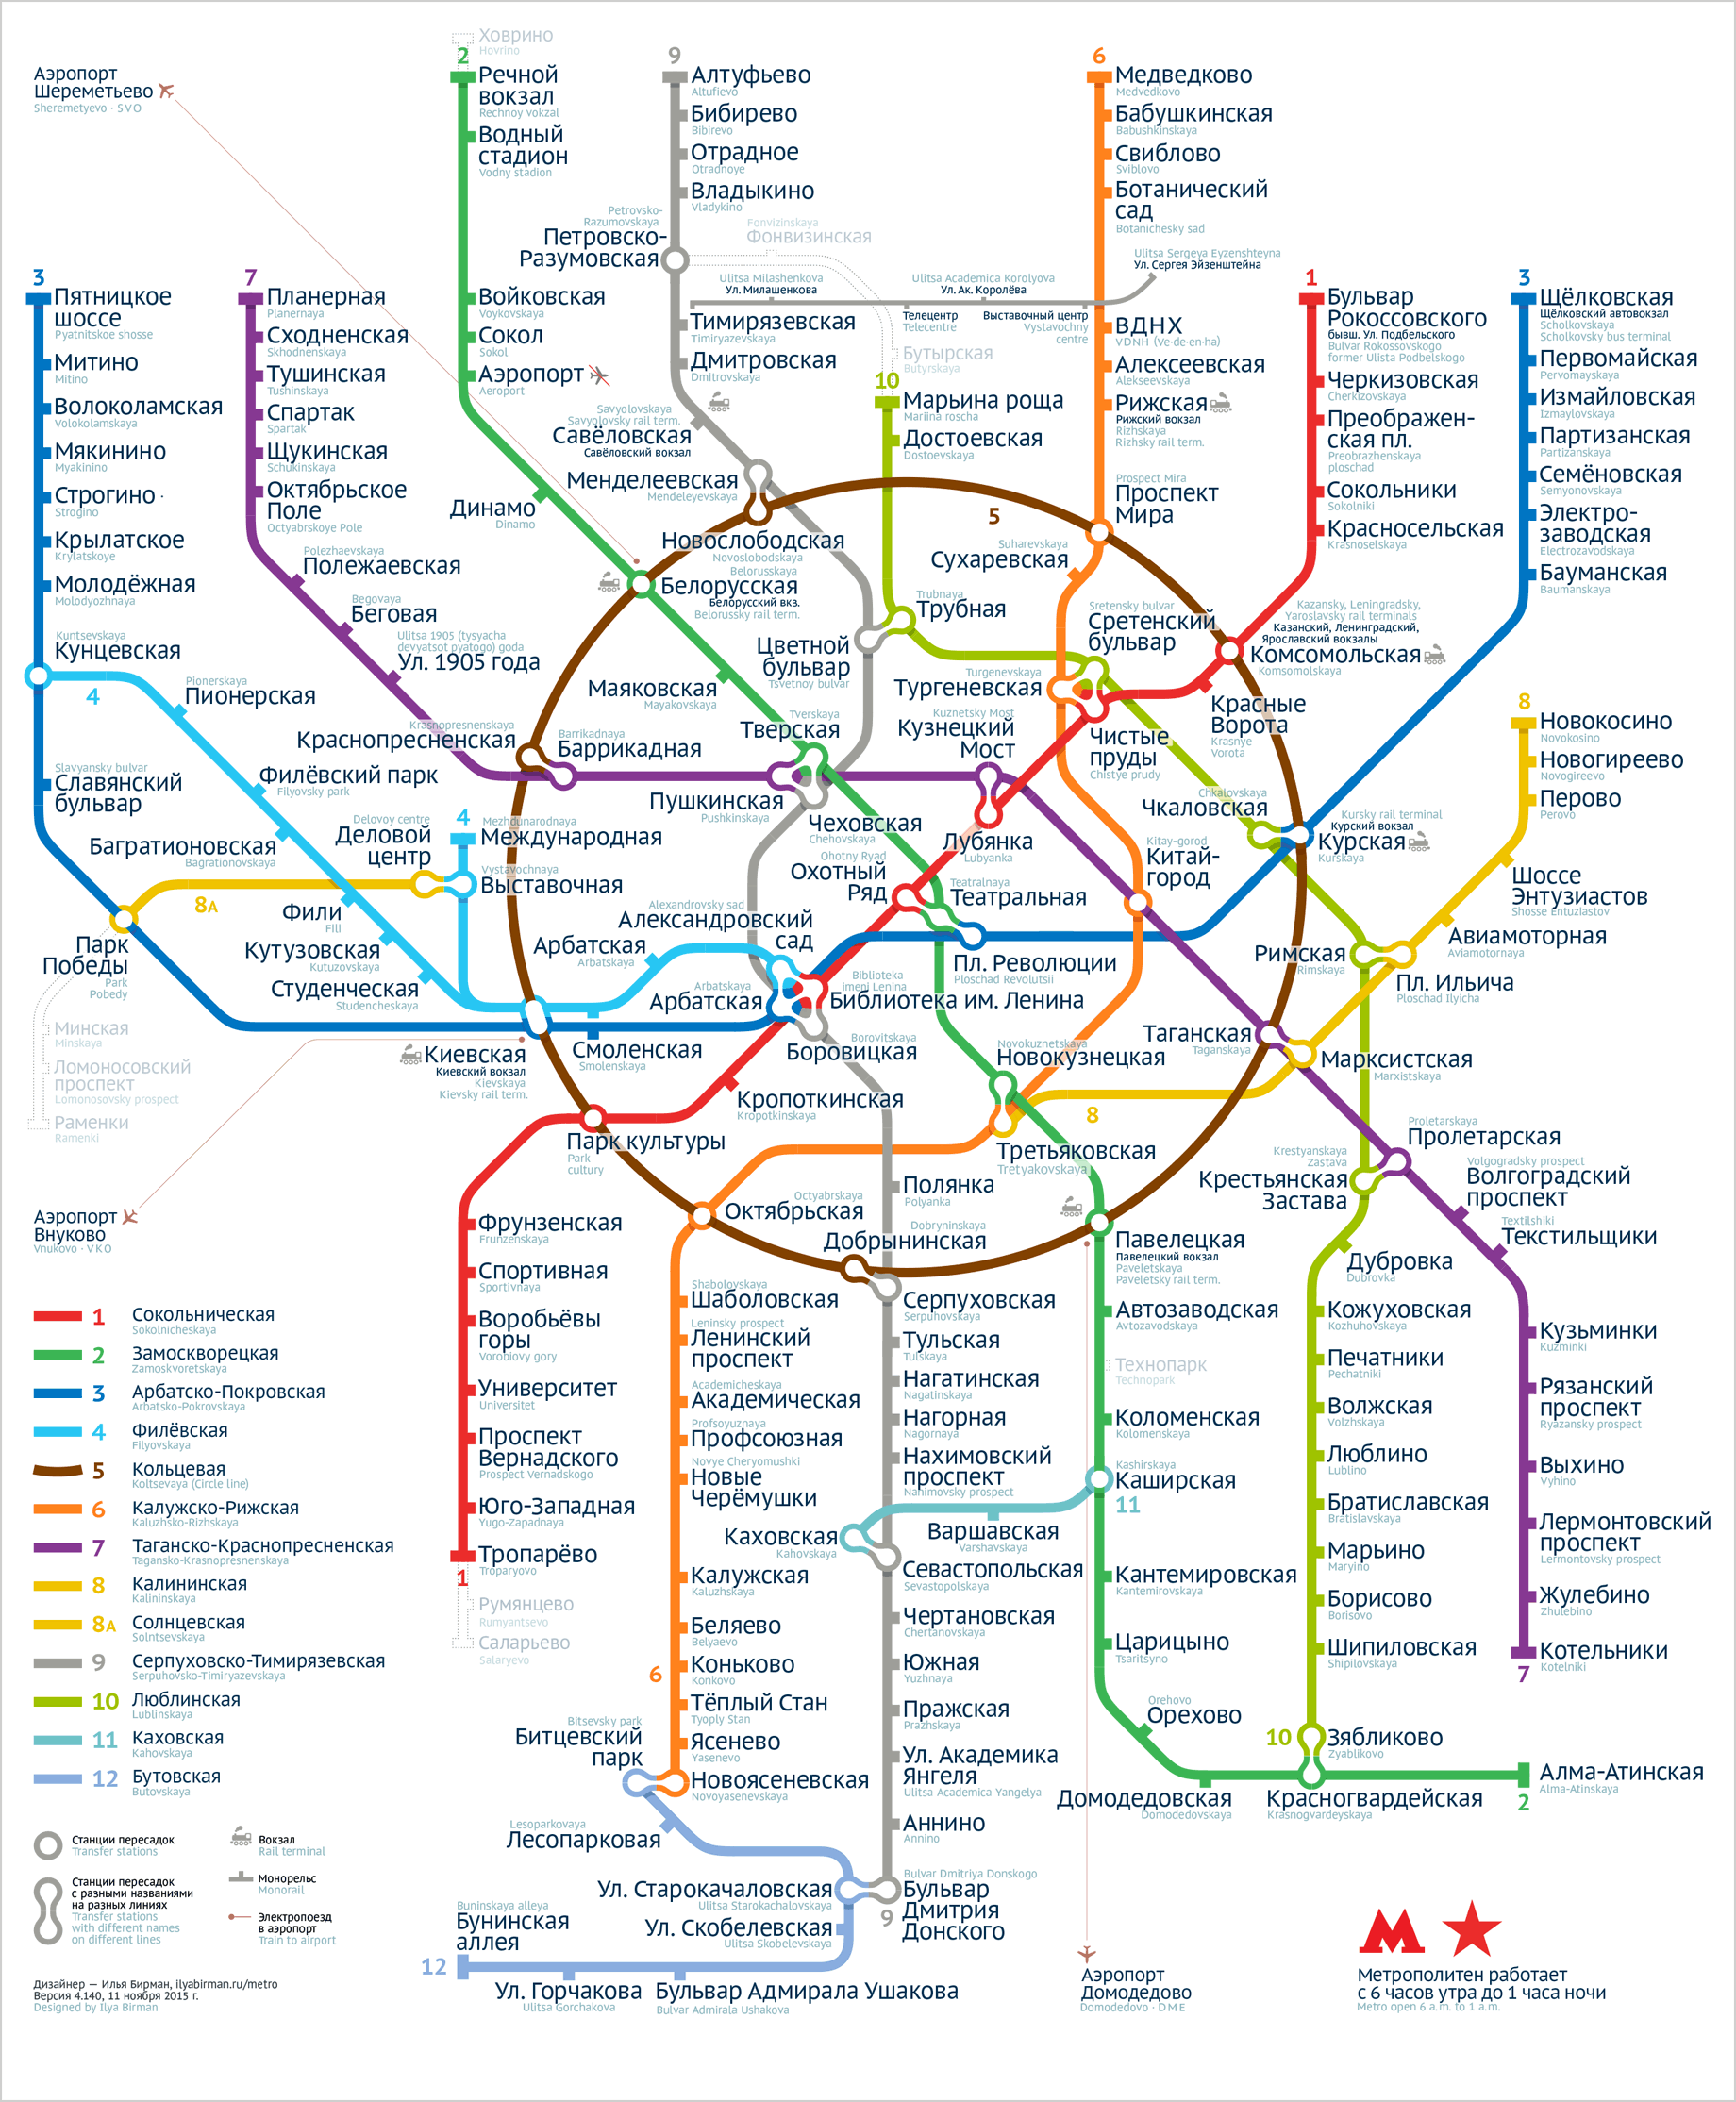
The map of the metro and suburban trains:

You can find the stations Skanstull, Medborgarplatsen, Slussen, Gamla stan in the centre.

Ticket machines:

There is a unified graphic style for the transport system. I will show the airport and the central railway station later. They all use the same font, the Swedish text is always white and the English one is yellow. But on the metro, only the posters follow this style. Other elements are inconsistent in their design.

Let’s get it. A beautiful font:

A platform. The letters on the display are gigantic. Looks right:

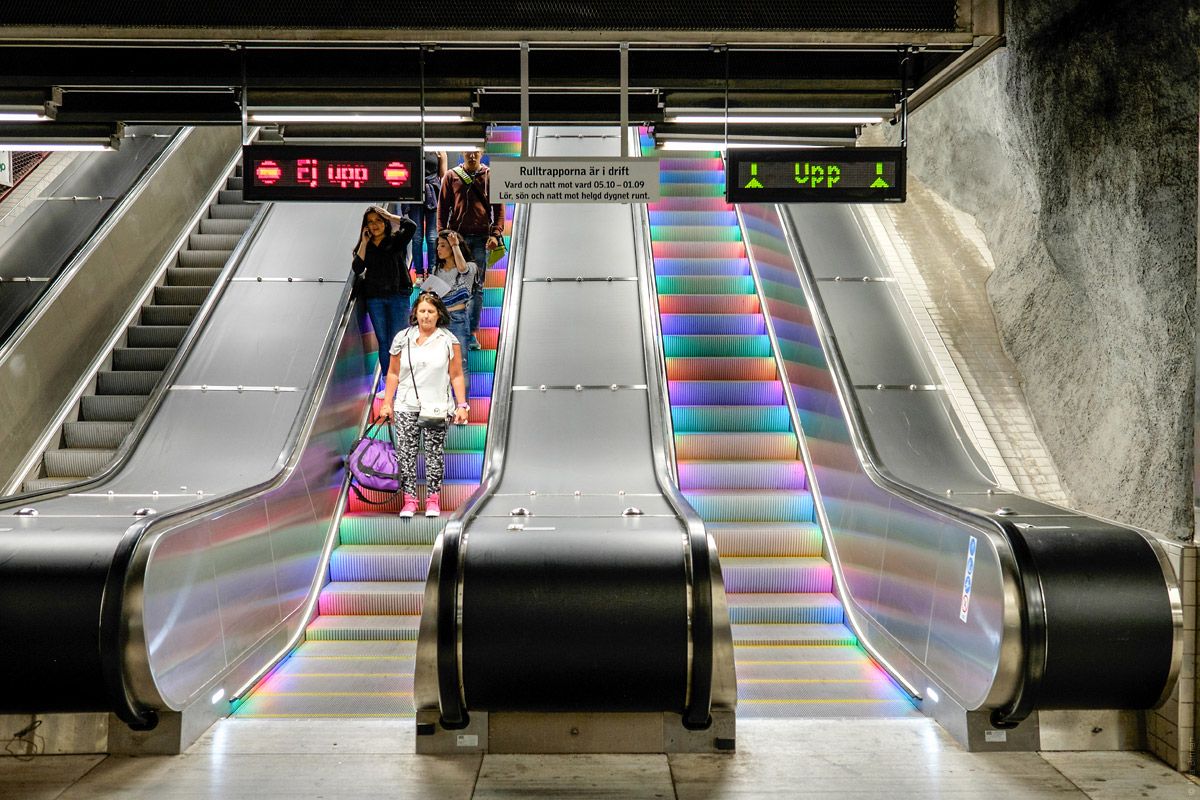
This display informs about escalator direction:

One of the platforms at T-Centralen, where the central railway station is:

A station name:

Now let me guide you to a more impressive platform at the same station. Follow the signs:

Helvetica, rectangles, arrows (the display on the left says “not down”):

And here we are on the platform of the blue T10 and T11 lines:

T-Centralen, blue lines

We’ll get back to this later.

A standard hanging sign with the station name, Helvetica again:

And here’s another style, on a blue background:

The same style is used for remaining stations list:

Another one:

The pictures are from the trip in June 2016.

Сontinued

How Apple can preserve face while recovering from the MacBook Pro mistakes

In The best laptop ever made, Marco Arment outlines just how great the previous-generation MacBook Pros were. He does not say this directly, but obviously alludes to the multiple problems with the current MacBook Pros.

Really, almost all changes in the new MacBook Pros made them worse: unreliable keyboard, no useful ports, no MagSafe, worse battery life under load. All this with no meaningful improvements to performance. And nobody seems to care about the Touch Bar.

I don’t know whether Apple internally even think they’ve made a mistake with the 2016 design, but let’s pretend they do. If they just go back to the 2012 design next year, they will thus admit they’ve screwed up with the design. And that’s not what Apple usually does. But the 2012 design with the newer guts is what the market wants — at least until Apple comes up with a design that is actually better, and that takes time.

So how can they both satisfy the market and preserve face?

They still sell new 2012-design MacBook Pros. I think they will continue to do so, and will update those machines. Maybe they will rebrand them as “Classic” to contrast with the “Touch Bar” models, at least when they talk about them.

So, in year 2018 we may see updates to both lines. The Classic MacBook Pros could get faster processors, better displays and a couple of USB-C ports. The Touch Bar MacBook Pros could get a reliable keyboard, and to make them look super-cool, maybe, Face ID, if that’s not too early.

And by the year 2020 or so Apple will hopefully do another redesign, and we’ll see if it’s good enough to finally abandon the Classic line.

Feedback first

Here is my talk from FDConf, Minsk about feedback in the user interface:

UI Museum: Turbo Pascal 7.1

All screenshots for this post were made by Rakhim Davletkaliev.

About:

Menu

File. It’s interesting that it was F2 to save, F3 to open, even though the order is already New, Open, Save — as on the GUI systems:

Edit. These keyboard shortcuts for clipboard were much better than Ctrl+K,K and Ctrl+K,B from Turbo Pascal 5.0:

Search:

Run:

Compile. It’s always bothered me that Run, which you always wanted, had a more complex shortcut (Ctrl+F9) than Make (F9), which you never wanted by itself.

Destination: Memory. An interesting menu item where the value is displayed inline.

Debug:

Tools:

Options:

Environment (we’ll get to the windows behind these items later):

Window:

Help:

File, Edit, whatever, Window, Help — Borland has copied this standard from the GUI OSes even though they didn’t have to. It was nice.

Shortcut menu:

File dialogs

Open:

Save:

Change directory (in MS-DOS, there always was a current directory):

Printer setup:

Window management

Cascade mode:

Notice how the active window has a double border.

Tile mode:

Window list:

No windows. Notice the background:

Working with code

A simple program:

Parameters:

Arguments (what is parameters, then?):

Compile-time error message:

Compiled successfully:

Information:

The full-stop at the end of a program is a nice quirk of Pascal.

Go to line number:

Find:

Message box:

Notice that the main window still has the double border when a dialog is open.

Replace:

Find procedure:

Debugging

Step-by-step:

Add breakpoint:

Breakpoints:

Call stack. Not a dialog box, so the unfocused main window gets the single border:

CPU:

Add watch:

Watches:

Output:

Evaluate and Modify:

Messages. I never knew what Messages were, and neither did the school teachers. And you couldn’t have just googled it:

Help

Pascal help:

The language syntax:

No search. Functions organised alphabetically in strange groups:

Error messages, by number:

There also was Turbo Help, the help system available from dialog boxes. For mysterious reasons it looked very different from the main Help:

Setup

Preferences:

Editor options. Editors of 2017 have so many options that you need search just for them:

Mouse options. This was not system-wide:

Startup options:

Colours. My favourite window:

Compiler options:

Memory sizes:

Linker:

Debugger:

Directories:

Tools:

Previous exhibit: Norton Commander 5.0

Is iOS scrolling modal?

Someone has tweeted this and got several retweets:

What they mean is this: when the content is still, tapping the screen is interpreted as a tap, but when the content is in motion, tapping the screen just stops the motion. So is the behaviour modal? No, here’s why.

Most people think that an interface is modal when it has modes, i.e. when same user input produces different output depending on the state of the interface. However, that’s not the definition.

Let’s read Jef Raskin carefully:

An human-machine interface is modal with respect to a given gesture when (1) the current state of the interface is not the user’s locus of attention and (2) the interface will execute one among several different responses to the gesture, depending on the system’s current state.

Most people’s understanding includes only the (2), but not the (1). But they both equally matter. Perhaps, Raskin didn’t name the thing well, but we have what we have.

You unlock your iPhone and tap Messages:
But just as you are tapping it, you notice that it’s actually Shazam:

Oops, you are on a wrong page of your home screen.

In this case, launching of Shazam instead of Messages is a mode error: your gesture (tap in the top left corner) produced the wrong output depending on the current state (the page number), which was not your locus of attention. So, the iPhone’s home screen is modal.

Now let’s say you are in Contacts and tap the bottom left corner for Favourites:

Is there any chance you actually meant to go to a previously visited web page?

The gesture is the same (tap in the bottom left corner), and it produces different outputs depending on the current state (the active app). But here, the app is your locus of attention: you are fully aware whether you are looking for a contact or browsing the web. That’s why a modal error is not possible here, and this interface is not modal.

If we get back to iOS scrolling, it now becomes clear that it is not modal. When the scrolling animation is playing, it is the user’s locus of attention. The user is fully aware of the interface’s state: they are looking at the moving content. So the fact that the tap is interpreted differently during this animation is not a surprise and doesn’t produce a mode error.

Headings hierarchy

It’s a common mistake to denote heading level by its font size only. The popular Bootstrap CSS framework does exactly that:

When you see this picture, it makes sense: the higher the level, the bigger the heading. The problem: this works only when you put these headings next to each other. But when you use six levels of headings in a real text, these styles will not help establish the structure. From the reader’s perspective, they would be just randomly-sized headings. To see an example, open the Bootstrap’s own documentation in the middle of its page.

Now look at this example from Wireless DJ help page:

The progression of sizes is not the only design tool here.

There is only one main heading (aka h1) on a well-edited page, and it’s on top. So from the structural point of view it doesn’t matter what it looks like. It makes sense to make it large though.

The second-level headings (h2s) are larger than the body text, but what’s even more important, they have generous margins around them, and the top margins are visibly larger than the bottom ones. This helps link the headings to their text and separate the sections from each other.

The third-level headings (h3s) are not just smaller than the second-level ones. They are actually of the same size as the body text, but are bold. Also, they have no bottom margins at all. This connects them very tightly with their text.

If you want more than three levels, you won’t be able to make do with just font size and margins. You will need to employ other tools:

This example is in Russian, but it’s even better if you can’t read it. Just see how headings of different levels have several attributes that help you recognise them: alternating typefaces, italics, rulers, numbering.

Such a complex hierarchy may be necessary in some legal documents (the example above is from the Russian Civil Code), but in most cases, three levels of headings must be enough.

UI Museum: Norton Commander 5.0

All screenshots for this post were made by Rakhim Davletkaliev.

The main interface

The canonical view of two directories in the Left and Right panels:

The right panel is active — you see the cursor and the highlighted path in the title. Use arrows to navigate the files. Change currently active panel with Tab.

Alt+F1 or Alt+F2 changes the displayed volume in Left or Right panel respectively:

MS-DOS uses drive letters for volumes, and the letters A and B are reserved for the floppy drives. Most computers had just one, and then the main hard drive was C.

Hide the panels with Ctrl+F1 or Ctrl+F2:

In MS-DOS, the filename’s length is limited at 8 characters, and the extension, at 3. The dot between the file’s name and extension is not shown. Unlike the command prompt, Norton Commander displays filenames in lowercase letters and directories in all-caps. There is a special halftone pattern separating the extension of the system files like Io.sys and Msdos.sys (also they have their first letter capitalised).

Ctrl+O hides both panels, for work with the MS-DOS prompt:

The main menu

The main menu is the one displayed on the bottom, with keys F1 to F10 mapped to the most-used functions.

F1 for Help was a standard for many MS-DOS programs. I’m not sure if Norton Commander originated it.

F2, User Menu. The items can be programs for quick access. Here, the User Menu is empty:

The user has to edit a text-based configuration file to add items to this menu (press F4 while in this F2 menu):

The main panels are blue, the menus are cyan and the dialogs are grey. Unless they are error messages:

F3, View. Opens text view of the currently selected file:

Of course, for executables it shows “garbage”. But as far as I remember this version has the ability to set up external file viewers, so you can make it display images as actual images.

F4, Edit:

See the Mark item in the main menu inside the editor? It has something to do with a clipboard. There was no system-wide clipboard, of course, and the programs that had this feature used very different keyboard shortcuts for it. In Turbo Pascal 5.5, I remember, there were crazy combinations like Ctrl+K,B and Ctrl+K,K.

F5, Copy:

The Copy command opens the Copy dialog where the user enters the destination path. The input is pre-populated with the name of the directory in the opposite panel, and normally the user doesn’t edit it.

F6, Rename or Move (shortened to RenMov in the menu line):

Why Rename or Move is one command? Because from the system point of view it’s the same: while you are within the same drive, it just changes the full name (i.e. including the path) of the file. Again, the input is pre-populated with the path of the directory in the opposite panel, so just press Enter to move there. Or type a name instead of the path to rename the file in-place. Or add the new name to the end of the path to move and change name at the same time.

Moving between volumes involves actual copying and then deleting the original, but it was also done with this menu.

F7, Make Directory:

Interestingly, the window has no confirmation button, unlike the previous ones. Just press Enter. Also notice that in the main menu bar it’s called Mkdir, not MkDir. Why? Probably, because that was the name of the MS-DOS system command to make a directory.

F8, Delete. No question mark:

Before invoking the file operations like Copy or Delete, you could select many files with the Insert button, and they would display in yellow:

When files are selected, the bottom line changes to reflect this state.

F10, Quit:

The pull-down menu

The top menu, or the “Pull-down menu” is shown when the user presses F9 (or clicks the top line of the UI, if your computer has a mouse).

The Left menu sets up the Left panel. You may see many options of what to display in the panels, then how to sort it and more:

The Files menu lists many elements that have nothing to do with files, including Quit — not dissimilar to how the File menu is used in today’s applications:

Disk:

Commands:

Right, same as Left:

Panels setup

As you see in the menu, the panels could display a Brief or a Full view. The Brief view just shows the files, in three columns (as in the previous screenshot). The Full view shows one column of files with details:

In this mode, each line looks exactly like the bottom line in the panel, so why not just remove it to show two more files?

You could also set up file filters:

Use a panel for file preview:

Or for search results:

Or for item information. Directory:

File:

Go to file (in the current directory) by typing a couple of letters of its name:

Other dialogs

Compress:

Find File. The dialog windows that have other dialog windows inside, are cyan, not grey — for contrast:

The inputs are shown with square brackets and dots between them. The focus is shown with a black background. Advanced search options — this window is grey:

Notice how checkboxes differ from radio buttons.

History:

NCD (Norton Change Directory? I’m not sure), a fancy way to navigate the folders on your disk:

Synchronise directories:
Format diskette:

Copy diskette:

Label disk:

Commander Link:

Commander Disk Cleanup helps find files to delete:

Honestly, I don’t remember this feature at all (but I didn’t use Norton Commander at that time because there was DOS Navigator, which is a whole different story).

Found something. Here, files are displayed with the dots in the names:
System information

System information:
Memory summary:

DOS memory blocks:

CMOS values:

Configuration

Now let’s look into the configuration dialog. Notice how the controls are organised and grouped:

By the fifth version, Norton Commander got colour schemes:

The palette was limited to 16 colours. There was no way to make the colours darker in the shadows, so to simulate the darkened cyan-on-blue or white-on-cyan the applications of the era used grey-on-black. I’m not sure, but I guess Norton Commander has borrowed this visual style from Turbo Vision. The earlier versions had no shadows. If you go back to the Main menu section, you’ll notice that the help window has no shadow for some reason.

EGA Lines is a mode where twice as many lines of text fits the screen. Nobody I knew ever used it:
.

Fun fact: this post has 57 full-screen full-quality screenshots. Their aggregate size is 271 kilobytes.

Earlier Ctrl + ↓